Best Homemade Nutella Recipe
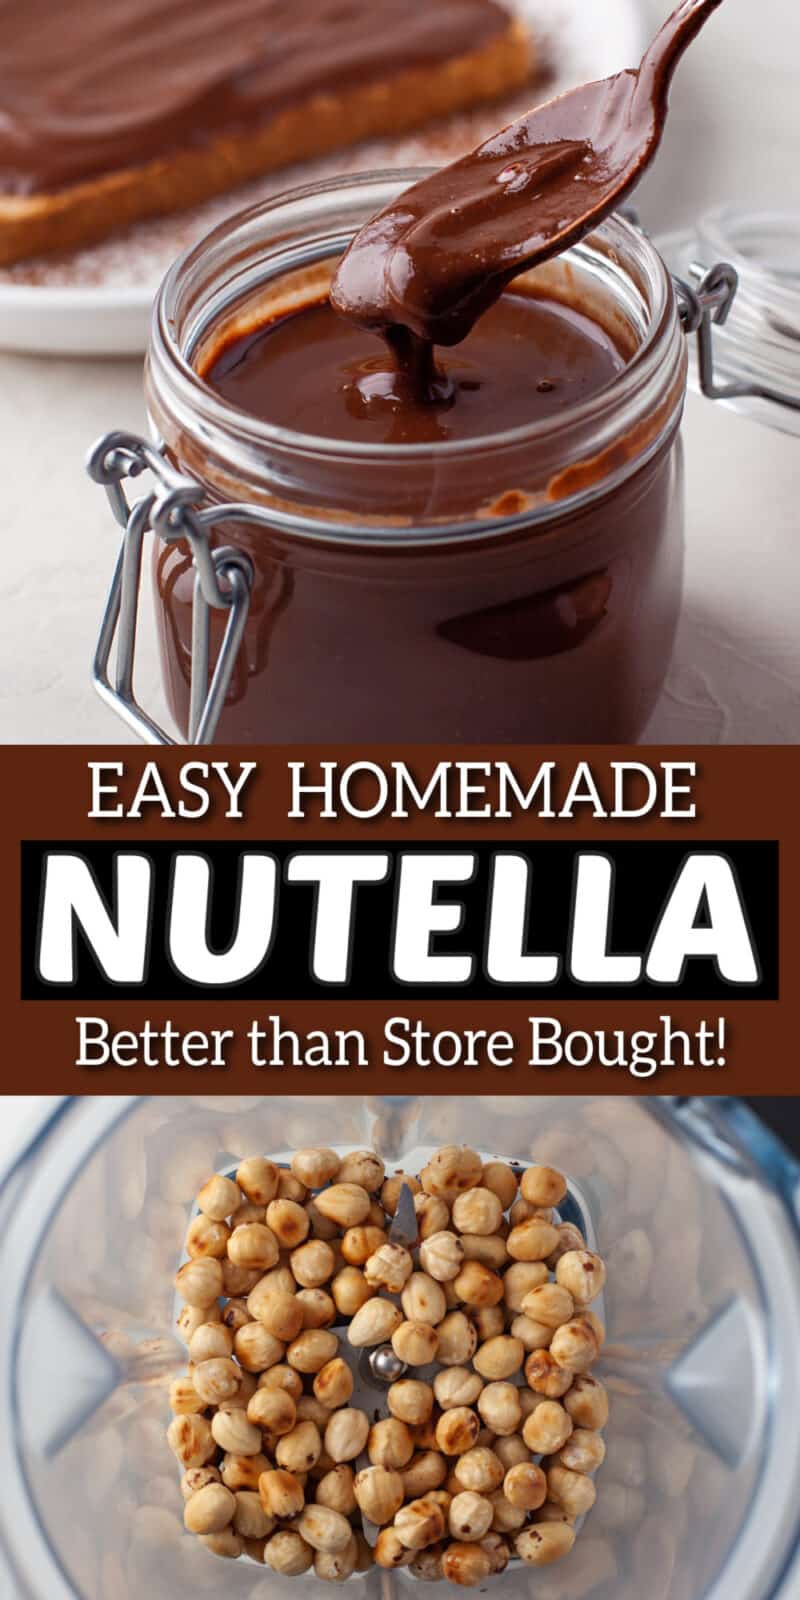
Our Homemade Nutella Recipe is truly the best chocolate hazelnut spread, and healthier than store-bought. It’s made in under 30 minutes with real, wholesome ingredients.
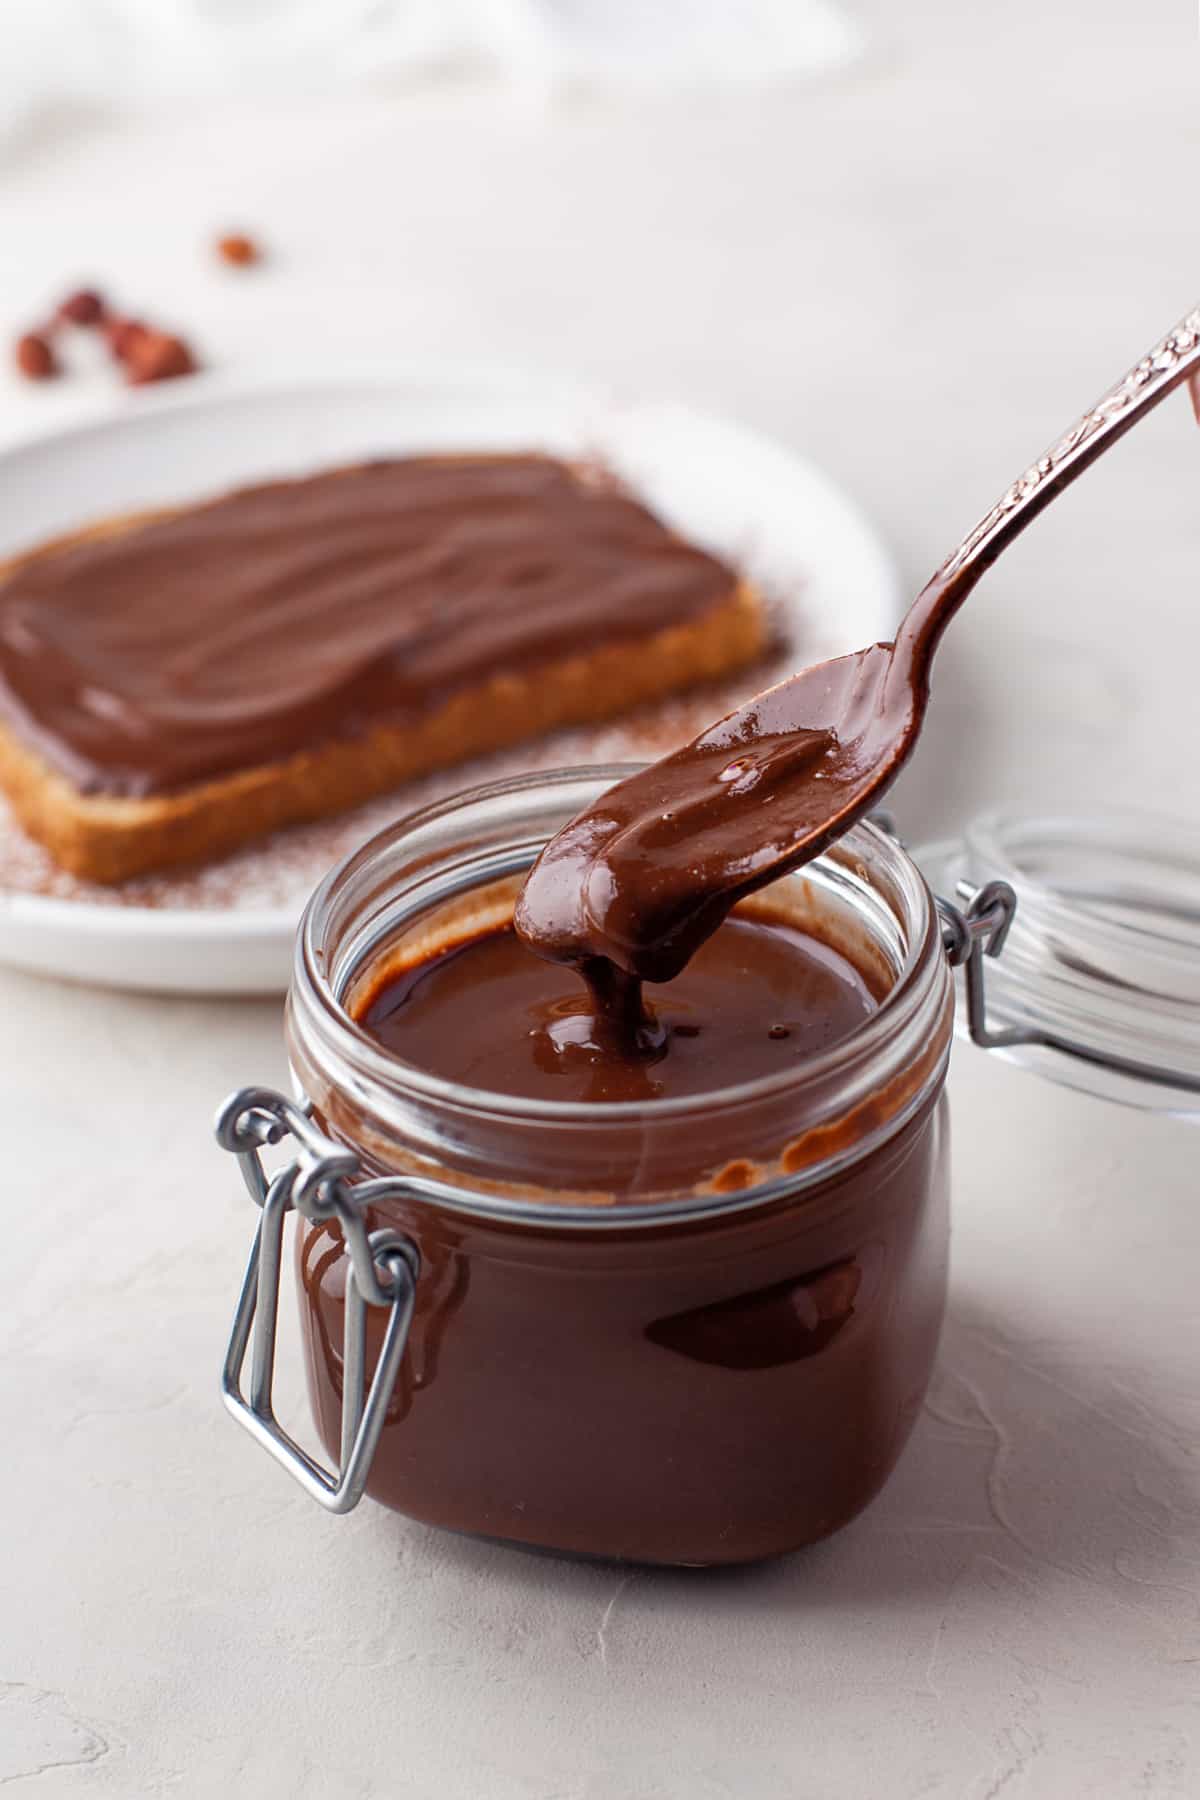
If you buy Hazelnut Chocolate Spread, you’ll want to make this easy recipe. Truth is, store-bought versions are so sugar-loaded and made with unhealthier oils. There is a better way to have your favourite spread, for less (in so many ways).
Nutella is a popular tasty spread to purchase, especially for those that have kids in the family. It’s one of the necessary pantry staples, because of that sweet tooth. Yet also for the convenience .
Yet making your own instead of your favorite brand can be just as rich, creamy and full of flavour. Yes, you can get that taste of Nutella all by yourself. Faster than a trip to the store, in fact. We also have a recipe on How to Make Lemon Curd!
Could I really bring Nutella to next level goodness? Yes! My goal with this recipe is to show you that making your own Nutella is a better route to go, and not just because it tastes like the real thing.
You’ll love what’s in it, as much as what isn’t!
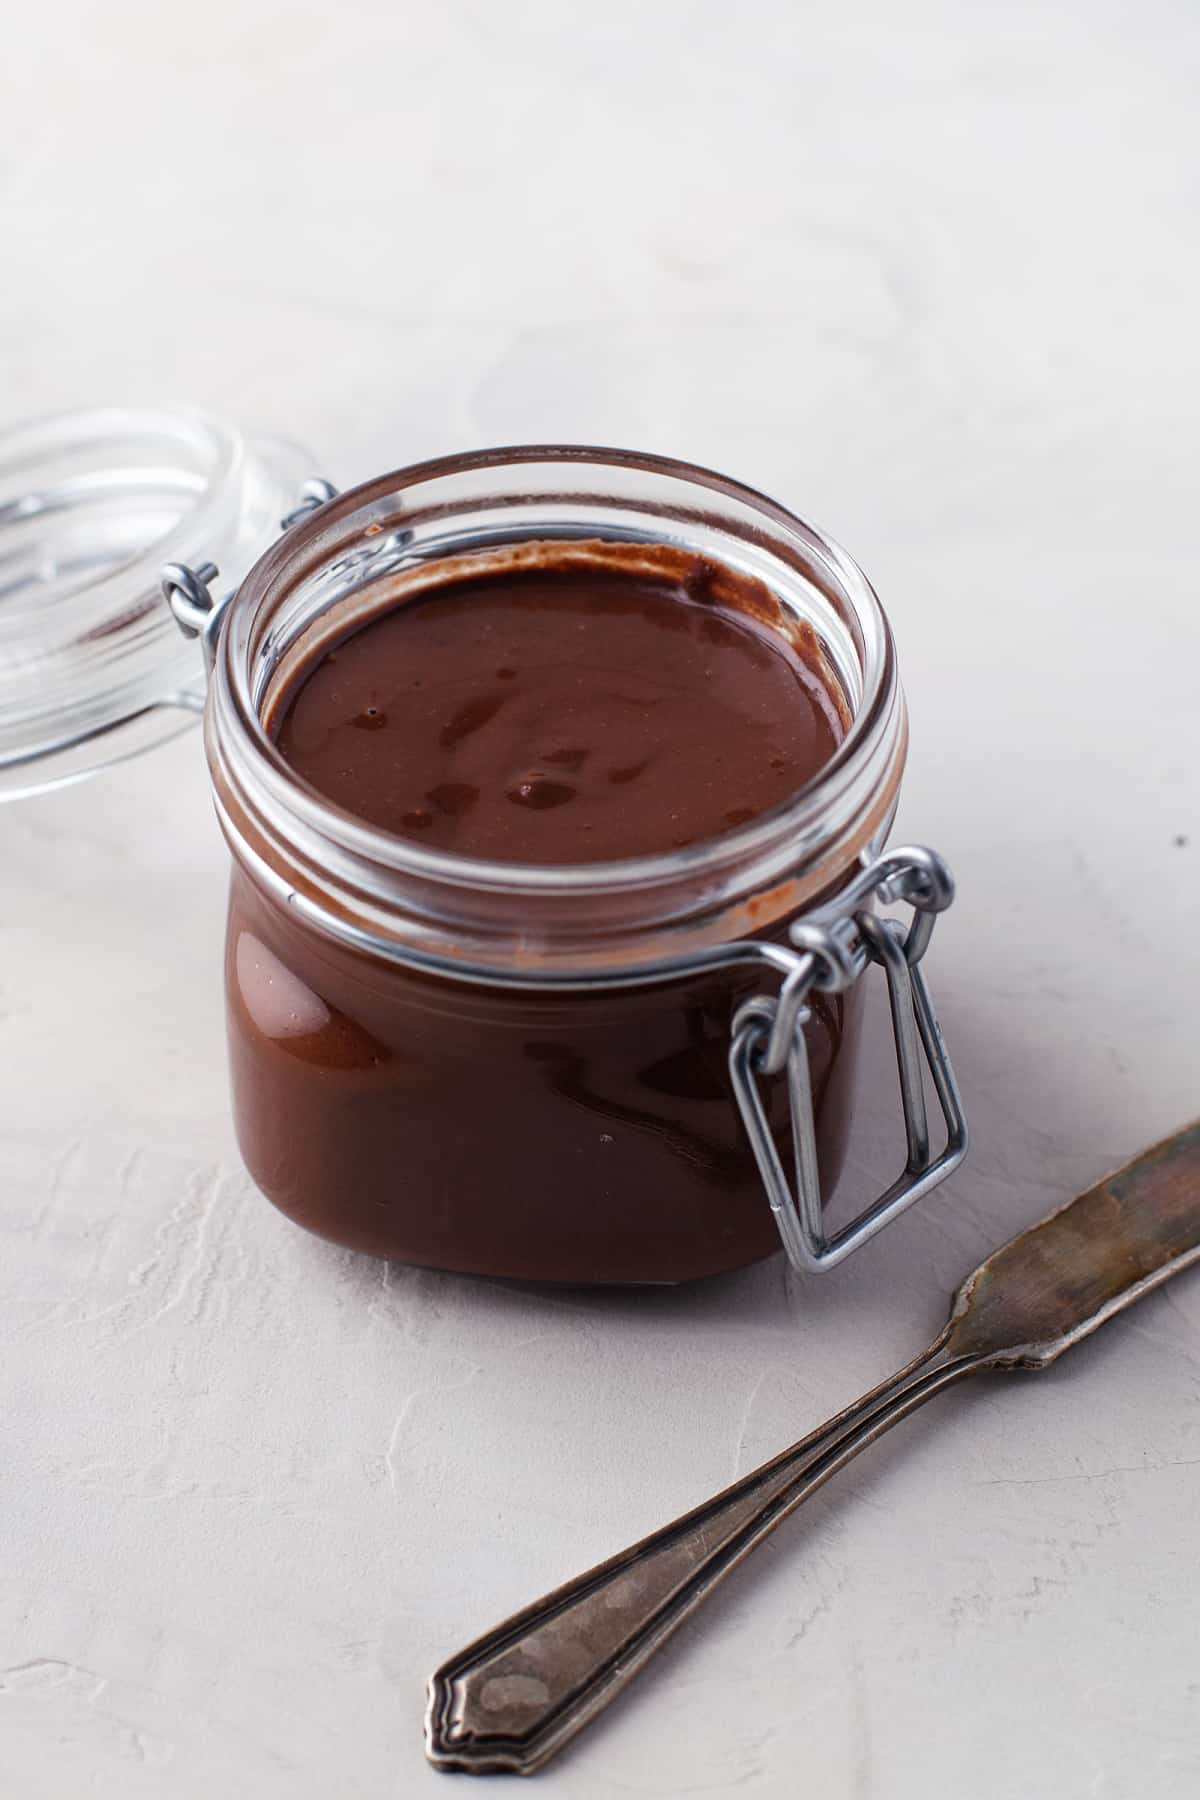
What you’ll love about this recipe:
This sweet treat is sure to become a new family favourite. Whether you are a seasoned Nutella lover or a newbie, prepare for the arrow to hit your heart with this simple recipe.
This delicious hazelnut spread recipe is definitely one to swoon over. Once you taste this homemade version, you might not go back to buying it from the grocery store ever again.
Much like how we won’t go back to buying because we love this Homemade Shake and Bake Recipe.
Plus a cute little jar of Nutella makes the perfect homemade gift for another Nutella fan! It’s just one of the many delicious ways to enjoy this beloved spread, and for good reason.
Use this easy homemade nutella to make Nutella Banana Bread. Or, top it on our Raspberry Cream Cheese Cinnamon Rolls.
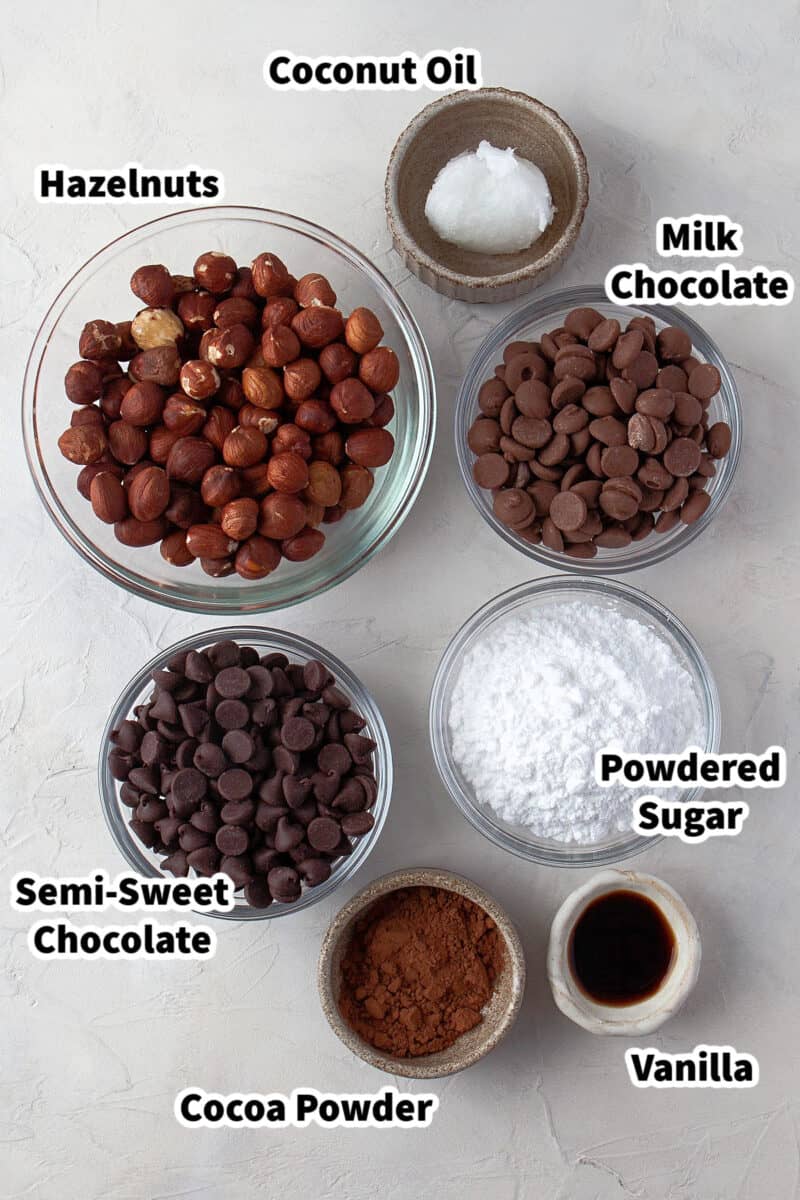
Ingredients to Make Nutella
How to Make Homemade Nutella
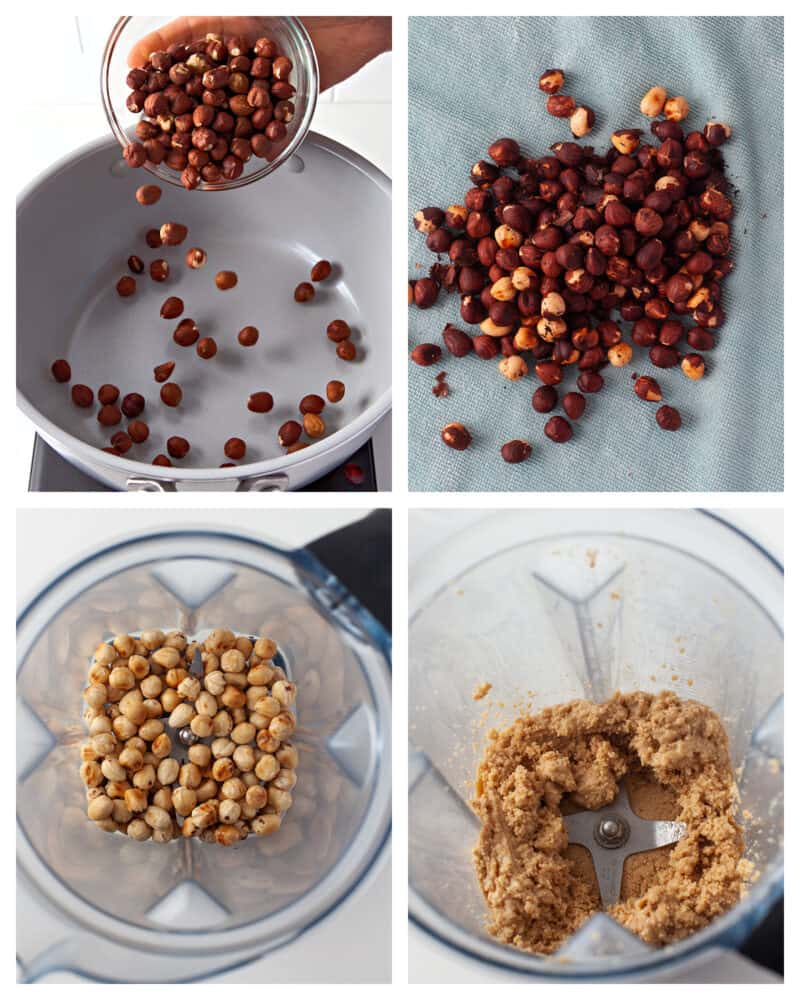
The first step in making your own Nutella is to to toast the raw hazelnuts. Many recipes call for baking the whole hazelnuts in an even layer (single layer) in the oven, and on a rimmed baking sheet. Roast hazelnuts this way, that is fine.
Yet you can also do this faster on the stovetop, which I do more often than not. I have found this to be the best way (and easy way) to prevent over cooking.
To do this, simply heat a pan on high, and place the hazelnuts in the heated pan. Constantly move the pan around to toss the hazelnuts as they cook, for 8 to 10 minutes.
They are done when you notice some of the skin coming off, and they start to turn golden brown.
Remove the roasted hazelnuts from the heat, and transfer the toasted hazelnuts onto a clean kitchen towel.
Gently rub the warm hazelnuts together with the dish towel until most of the hazelnut skins comes off. You might have some pesky skins that will need a bit of help aside from the tea towel. You might have to use a knife, to get all of it off the hazelnuts.
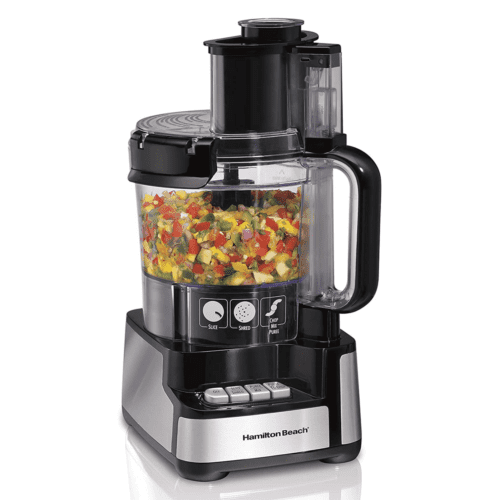
Place hazelnuts into the bowl of a food processor (you’ll want to use a strong food processor or Vitamix), and mix until it starts to liquify and it looks like hazelnut butter.
You can also use a high speed blender (or a powerful blender) to blend hazelnuts, if you need to. Scrape the sides of the bowl as needed to make sure you get all of the nuts blended.
Once you Have Toasted Hazelnuts:
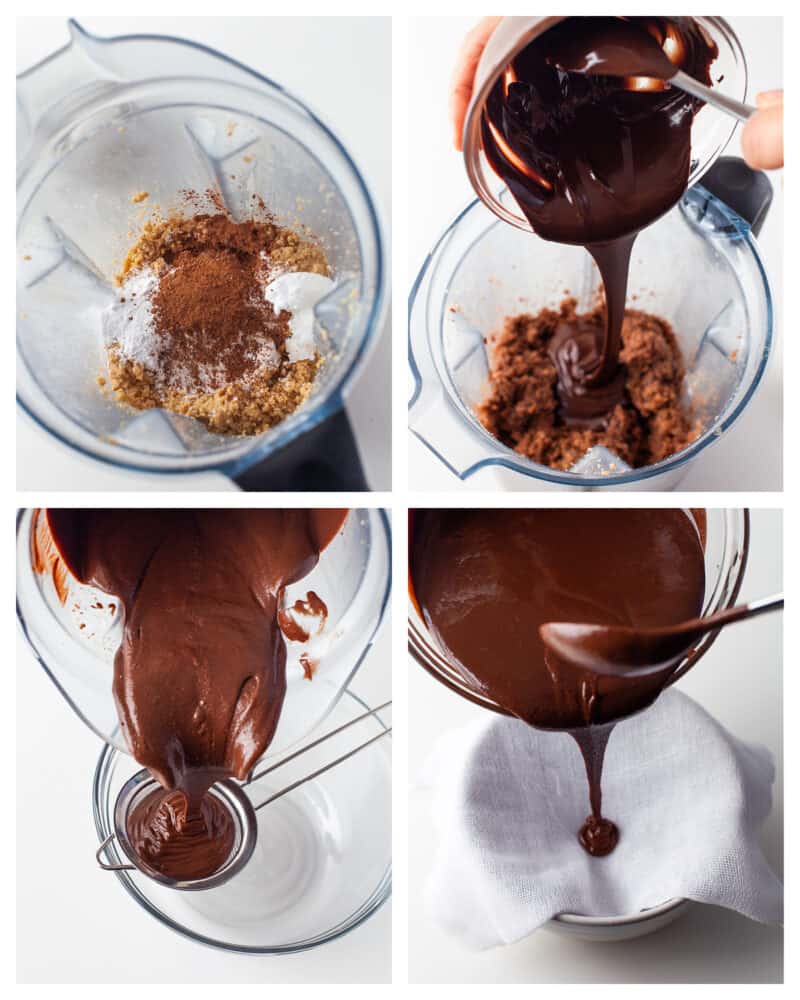
Add the powdered sugar, cocoa powder, vanilla, and coconut oil and mix again until combined.
Place your chocolate chips into a microwave-safe bowl and melt them at 20 second intervals until completely melted. Make sure you don’t burn the chocolate though.
Pour the melted chocolate into your hazelnut mixture, and continue mixing until it is evenly combined.
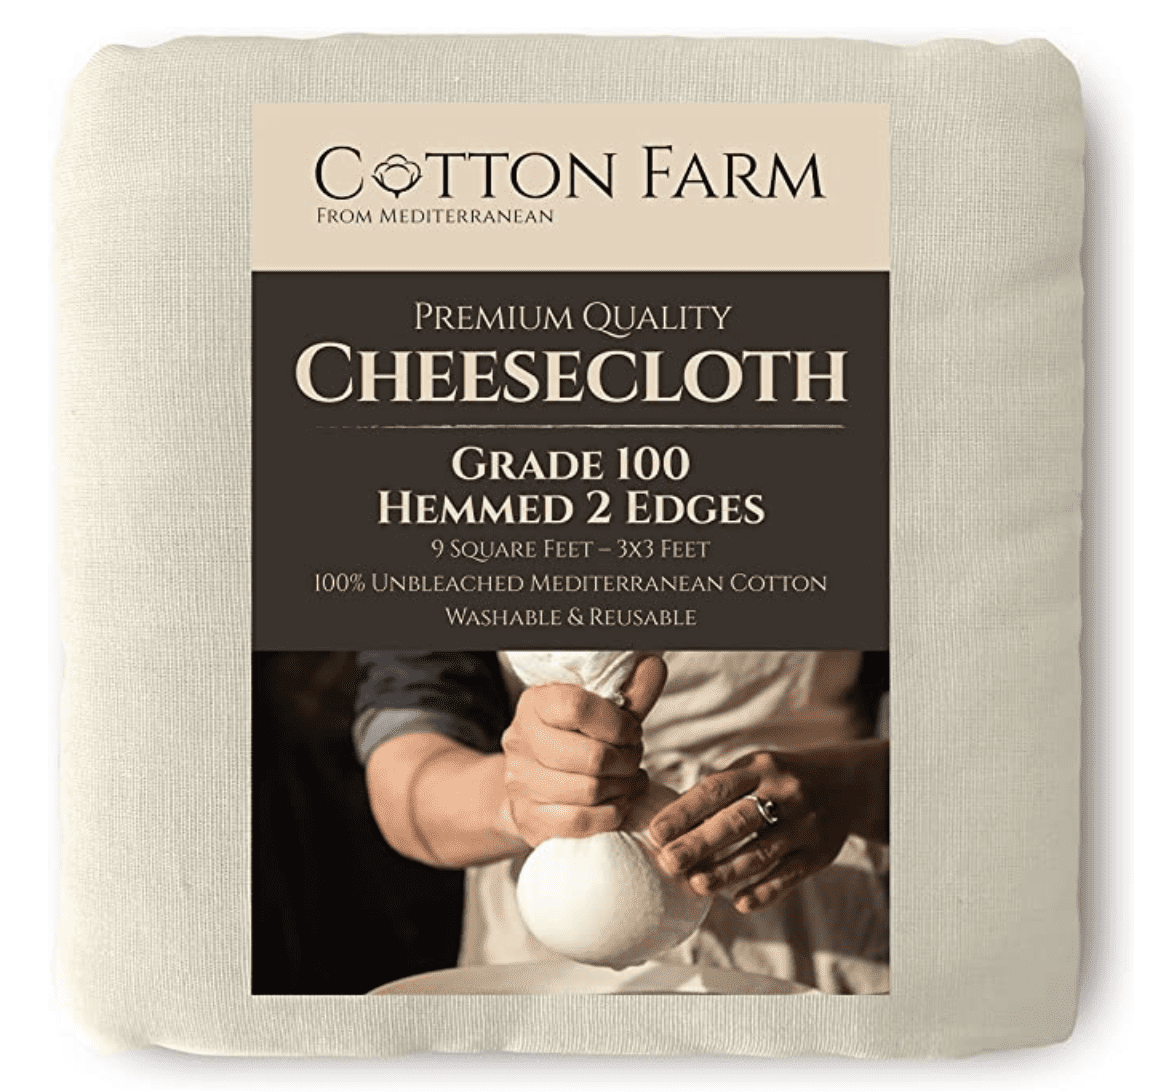
Once you have the mixture you can use a strainer with tiny holes or a cheesecloth to better strain the Nutella.
If you want that smooth creamy texture, I recommend straining it with a strainer and then with a cheesecloth. I find doing both helps to get that creamy consistency and gives the best results.
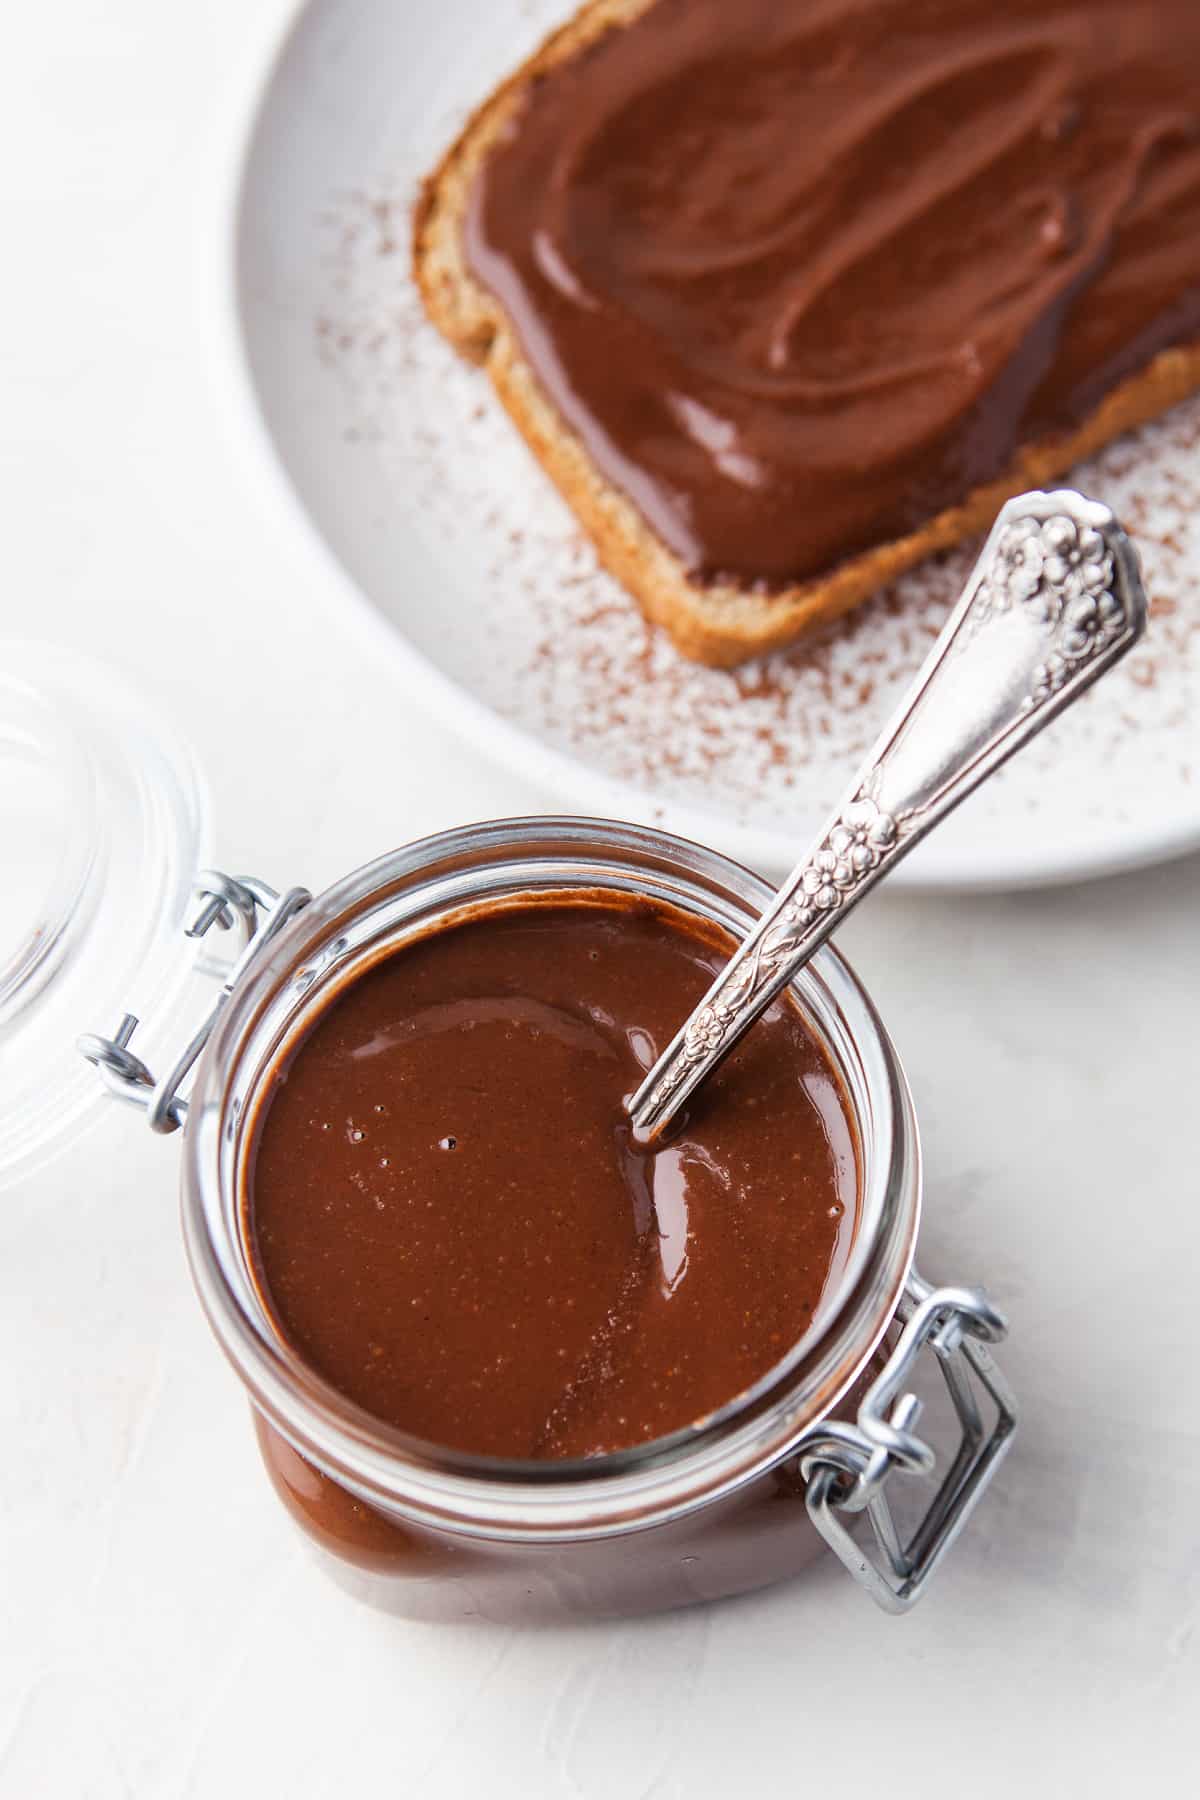
Place your chocolate-hazelnut spread into a clean mason jar and let it cool completely. Store in the refrigerator and enjoy!
What to Eat with Nutella
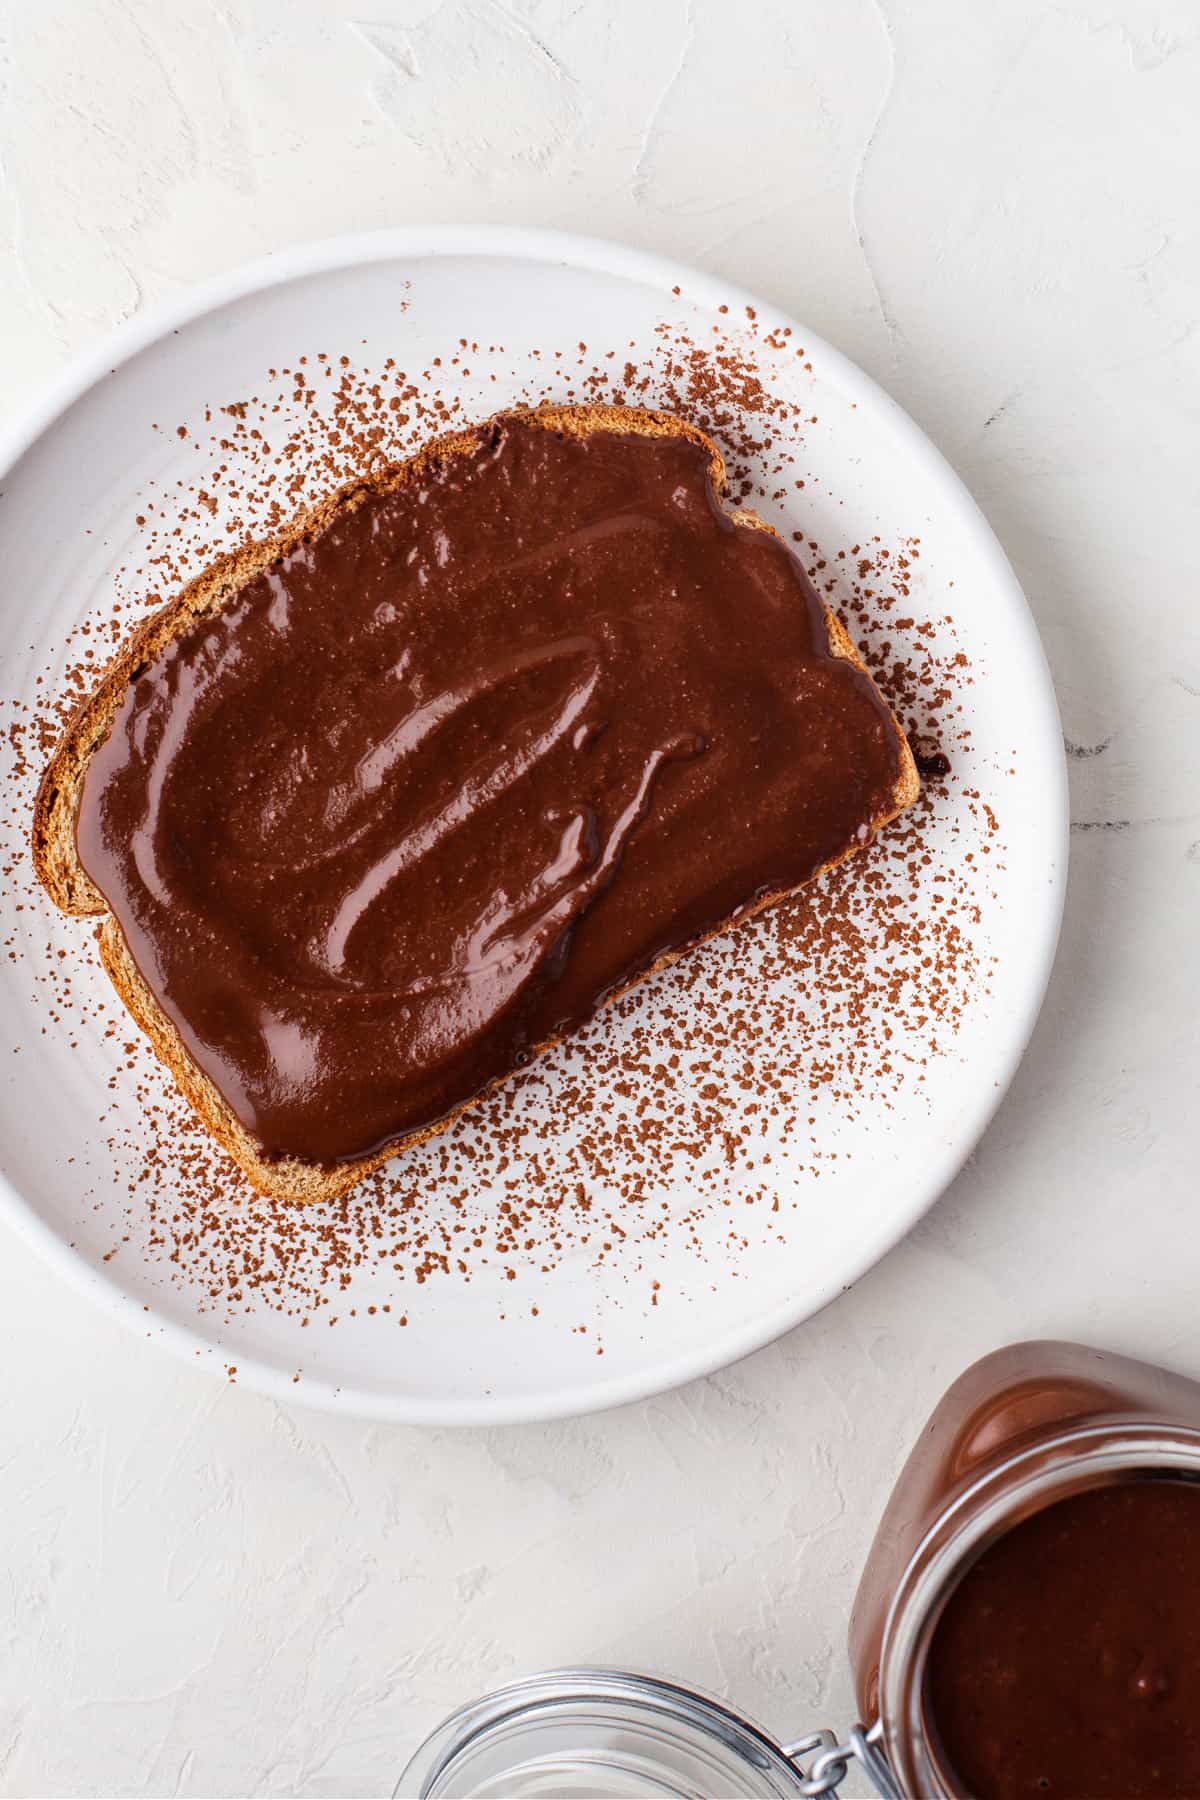
For those that tend to use Nutella the same way all the time, there are a lot of different ways to enjoy this yummy spread. Not just a breakfast staple as nutella toast, and not even on World Nutella Day.
It’s quite versatile, as you will see. Perhaps you’ll find a new favorite way to please those taste buds.
- On Toast and Banana Bread
- Topping on Fresh Fruit
- Spread Nutella on Whole Wheat Pancakes or Oat Flour Pancakes
- On Waffles, and French Toast
- Topping for Ice Cream, much like hot fudge
- Drizzled on No Bake Strawberry Cheesecakes
- Drizzled on a Cake, as frosting
- Topping Strawberry Cream Cheese Monkey Bread
- layer of nutella between Cake, much like frosting
- Nutella Pizza
- Mix with hot milk to make Hot Chocolate
- Nutella Sandwich
- Drizzle on our Turtle Pie
- Quick snack on salty crackers
- nutella overnight oats
- OR GRAB A SPOON AND ENJOY ALONE!

How to Store Homemade Nutella
While store-bought Nutella can be kitchen pantry stored for a long time, ours has no preservatives and isn’t processed. While this is a good thing, that means it’s not shelf stable at room temperature for long periods of time.
So, it’s best to store this healthier homemade nutella in an airtight container like a glass jar, in the refrigerator. It’s best to use up within 2-3 weeks. A good idea is to write the date on the jar.
Proper storage at cold temperatures will prevent it from going bad. You can bring it to room temperature if you’d like to before using.
Will Homemade Nutella Firm-up in the Fridge?
Yes, it will. This healthier homemade nutella version will soften up on it’s own within 5-10 minutes of being in room temperature. You could microwave it for 15 seconds to soften quickly.
Health Benefits of Nutella
Now that we know how to make your own Nutella, let’s dive into why you should. We all know this addictive treat tastes divine, yet it’s better for you than you might think.
Delicious hazelnut spread can actually be considered healthy when made at home with simple ingredients without that high sugar content. Homemade has a lot less sugar!
While I wouldn’t advertise Nutella as a ‘healthy food or healthy snack’, our recipe is a healthier option than most nutella recipes. There are some health benefits of chocolate hazelnut spread.
Personally I haven’t seen anyone with a spoonful of Nutella overly sad. Because, chocolate.
Also try our delicious homemade Easy Alfredo Sauce Recipe without cream cheese!

Homemade Nutella
Ingredients
- 1 cup Hazelnuts
- 1/3 cup powdered sugar
- 1 Tablespoon unsweetened cocoa powder
- 1 teaspoon vanilla extract
- 1 1/2 Tablespoon coconut oil
- 3/4 cup semi-sweet chocolate chips
- 1/4 cup milk chocolate chips
Instructions
- Heat a pan on high and place the hazelnuts in, cook while moving them around constantly for 8 to 10 minutes. They are dome when you notice some of the skin is coming off them, and they start to turn golden brown.
- Remove from the heat and transfer them onto a clean kitchen tea towel.
- Gently rub them together with the towel until most of the skin comes off. You might need a bit of help with a knife to get most or all of the skin off of the hazelnuts.
- Place hazelnuts food processor (or Vitamix) and mix until it starts to liquify and look like butter. Scrape the sides as needed to make sure you get all of the nuts.
- Add in the powdered sugar, cocoa powder, vanilla, and coconut oil and mix until combined.
- Place the chocolate into a microwave-safe bowl and melt the chocolate in the microwave. Cook at 20 second intervals until completely melted. Make sure you don't burn the chocolate.
- Pour the chocolate into your hazelnut mixture and continue mixing until it is evenly and well combined.
- Use a strainer with small holes or cheesecloth to strain the Nutella mixture into a small bowl. I recommend straining it with a strainer and then with a cheesecloth. This gives a smooth Nutella.
- Spread into a clean jar and let it cool completely. Store in the refrigerator for up to 2-3 weeks.
- Enjoy!
Notes
- Storing in the fridge causes the Nutella to firm up, yet it should soften up on it’s own within 5-10 minutes of being in room temperature. You could microwave it for 15 seconds to soften quickly.
Nutrition
SHOP
FOR
TOOLS
More Chocolate Recipes
- Peanut Butter Chocolate Chip Cookies
- Mexican Hot Chocolate Cookies
- Chocolate Pecan Tart
- Chocolate Fudge Cake
- Moist Chocolate Banana Cake
- Cherry Chocolate Cupcakes



The taste is lovely, straining was difficult so I did not.
I substituted coconut sugar iso icing sugar and I only used dark chocolate and added some coconut milk to adjust the smoothness.
What if I want to give for gifts or mail them can I do it with this recipe?
Absolutely! 🙂
For some reason, I thought making homemade Nutella would be more complicated than the recipe you provided. I think this will be a fun recipe to make with the kids and then they can enjoy something they made.