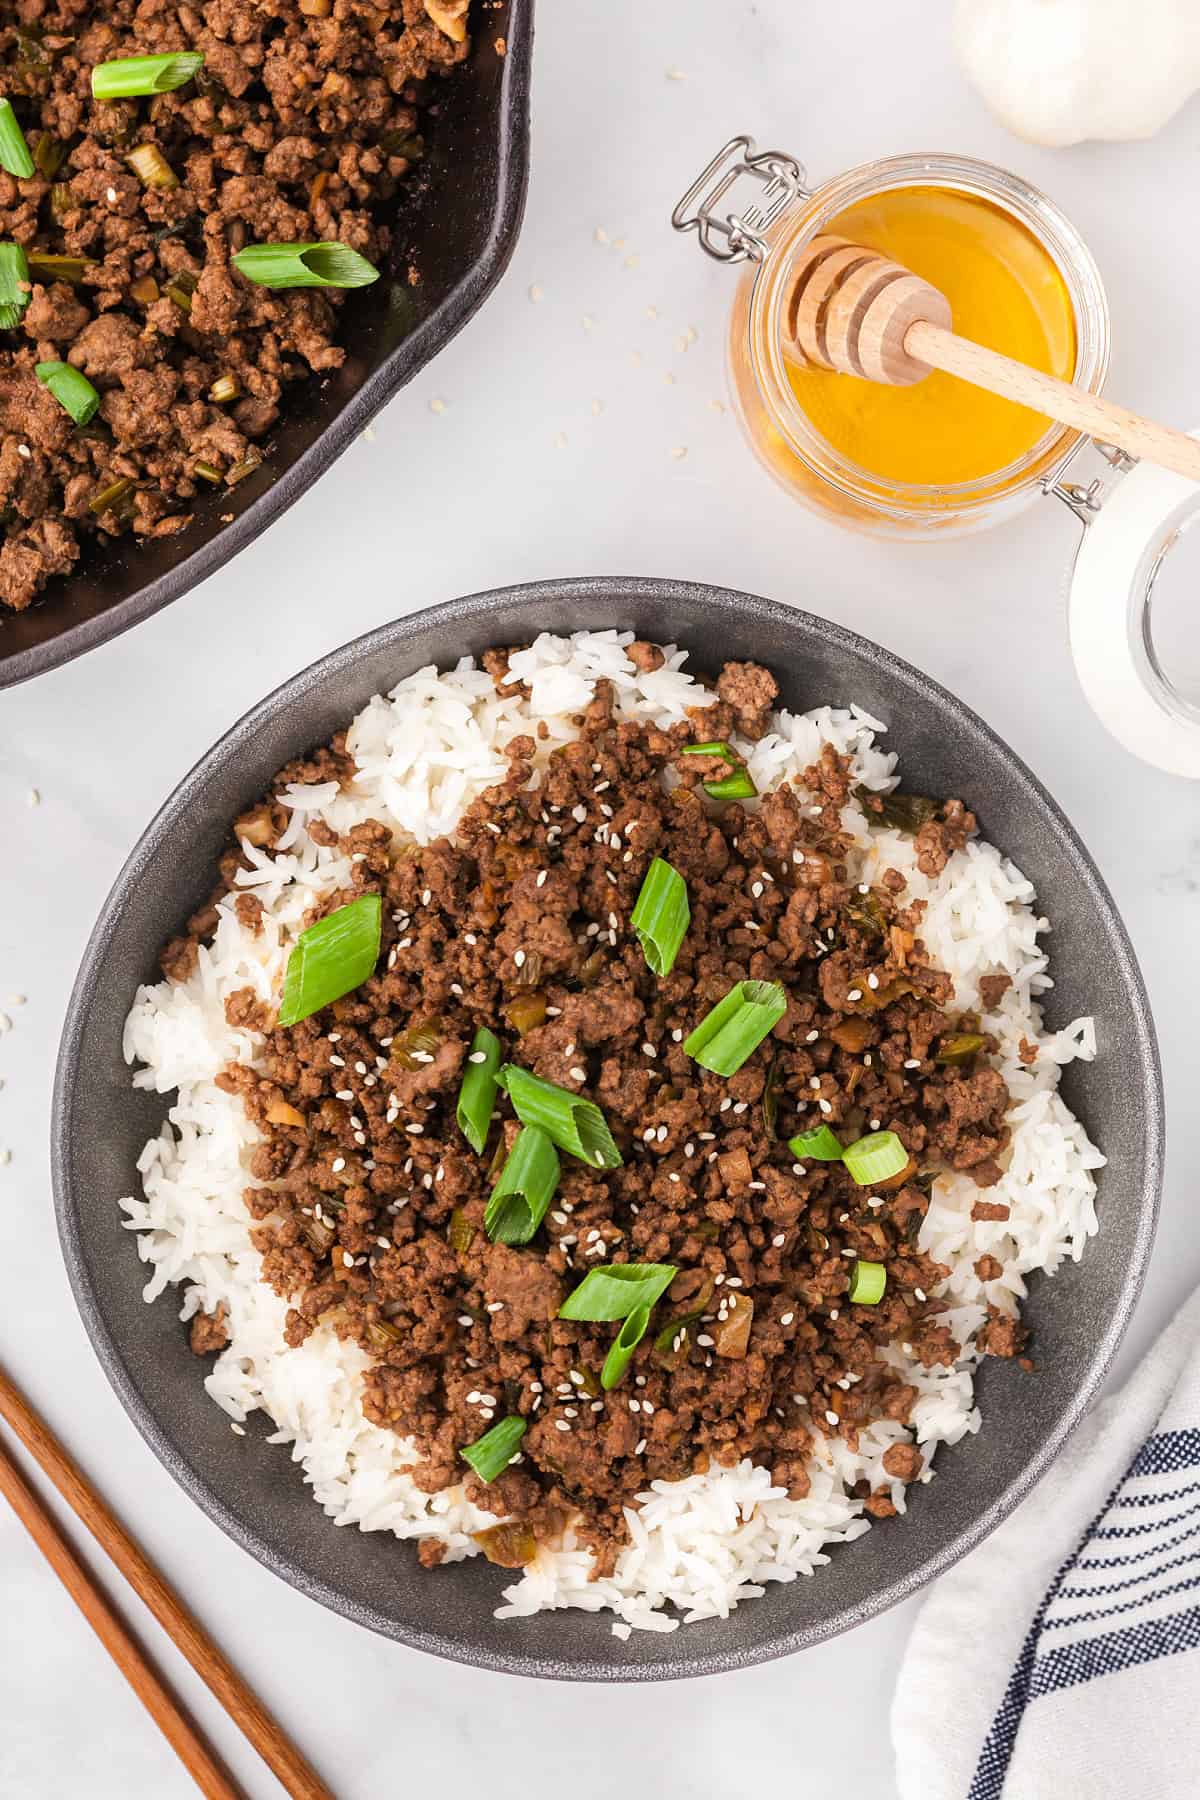
Korean Beef


This Korean Beef recipe uses ground beef instead of thinly sliced steak, making it budget-friendly and incredibly easy to prepare. The sauce comes together while the beef cooks, and everything is done in one skillet. Serve this Asian-inspired dish over rice with some steamed vegetables, and you’ve got a complete meal that tastes like you spent hours in the kitchen.
This quick Korean ground beef recipe is a go-to weeknight dinner when you need something fast, flavorful, and family-friendly on the table. Plus Korean beef is a great way to use up ground beef and rice.
The combination of sweet honey, salty soy sauce, spicy sriracha, and nutty sesame oil creates layers of flavor that keep you coming back for more.
Made with simple pantry ingredients and ready in just 24 minutes, this Korean beef recipe delivers all the sweet and savory flavors of Korean bulgogi without the lengthy marinade time or expensive cuts of meat.
For another Asian-inspired recipe that’s a fan favorite, try our Crispy Chicken Wonton Tacos, or our Best General Tso Chicken Recipe.
What is the difference between this and bulgogi?
Traditional bulgogi uses thinly sliced beef that’s been marinated for hours. This ground beef version is a quicker, more budget-friendly adaptation that delivers similar flavors in a fraction of the time. Think of it as bulgogi-inspired rather than authentic bulgogi.
Why You’ll Love This Recipe
- Total Time: 24 Minutes
- Serves: 4
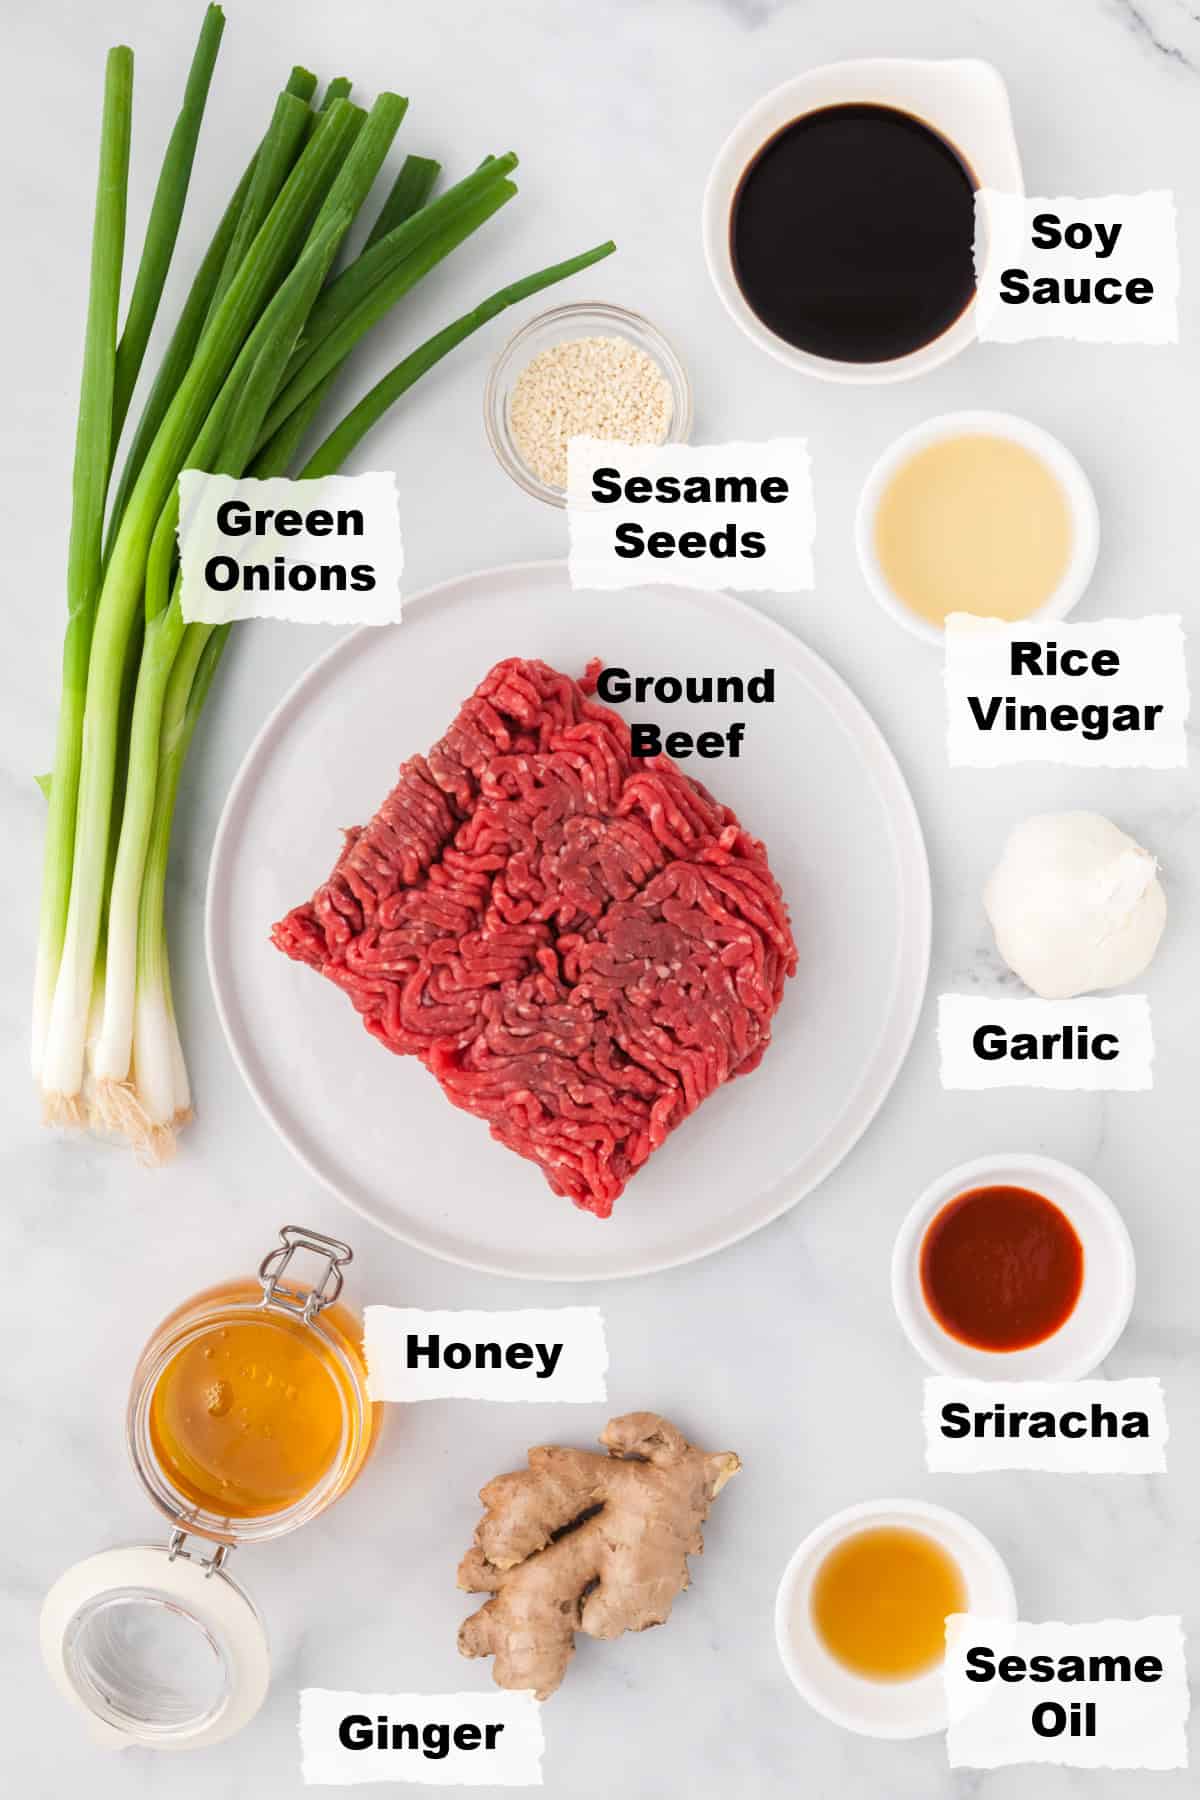
Ingredients and Notes
As always, the full ingredients and recipe is on the printable recipe card at the end of this post.
Tips for Success
How to Make Korean Beef
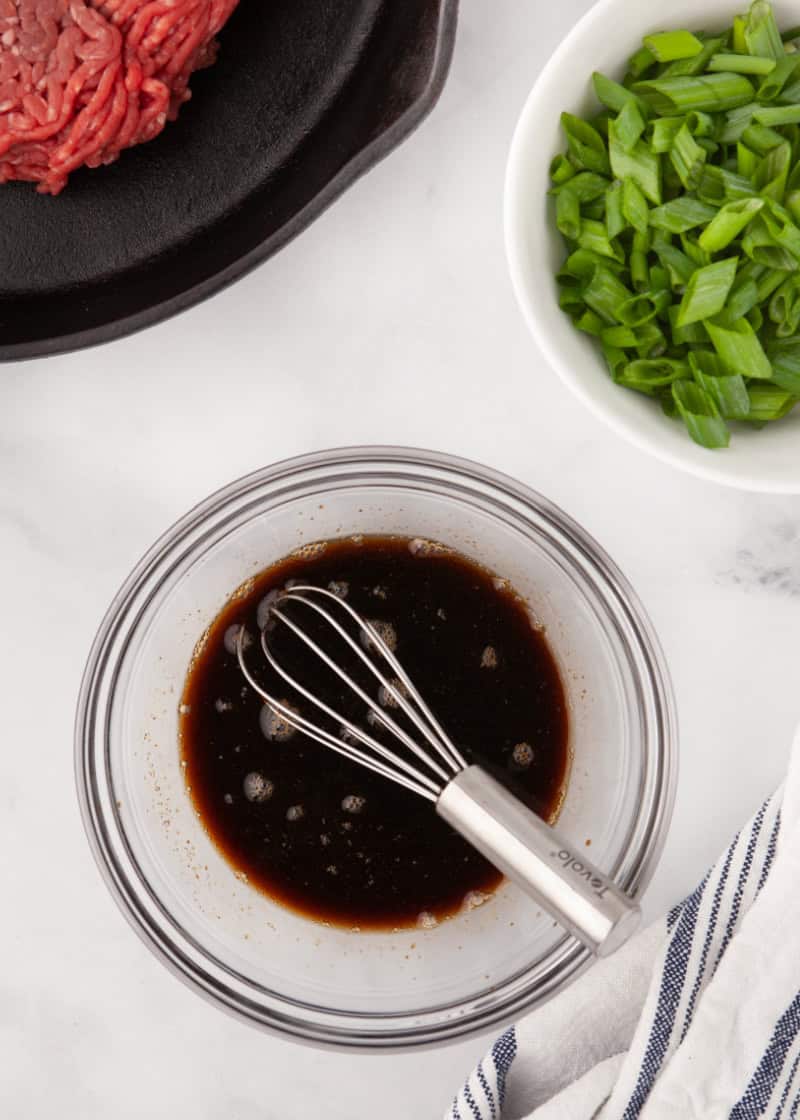
1. Make the Sauce
Whisk together the soy sauce, honey, rice vinegar, hot sauce, and sesame oil in a bowl and set aside. Slice the green onions placing them into two bowls, one bowl containing approximately ½ cup of sliced green parts only, and the other bowl containing the rest of the sliced green onions.

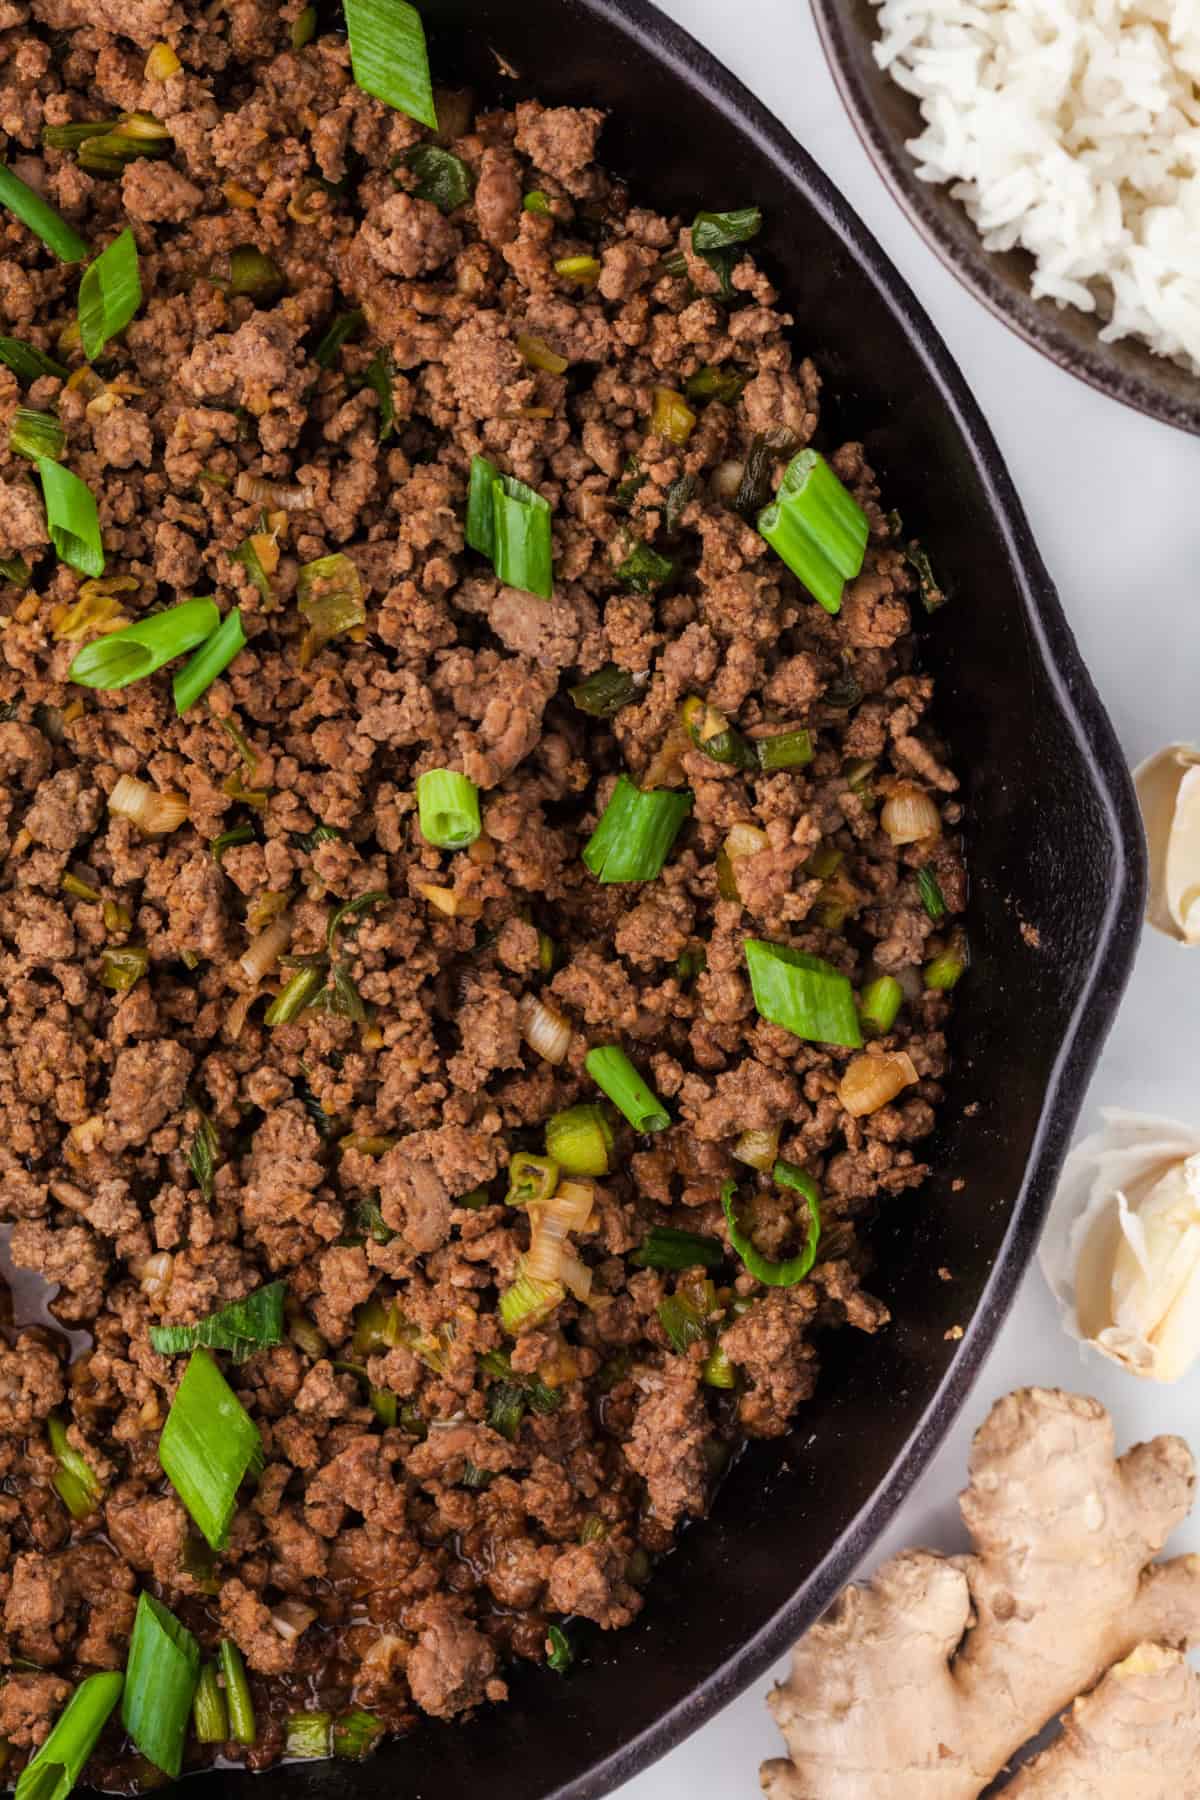
2. Brown beef
Heat a large skillet over medium high heat and add the lean ground beef. Stirring occasionally with a spatula about 4 minutes.
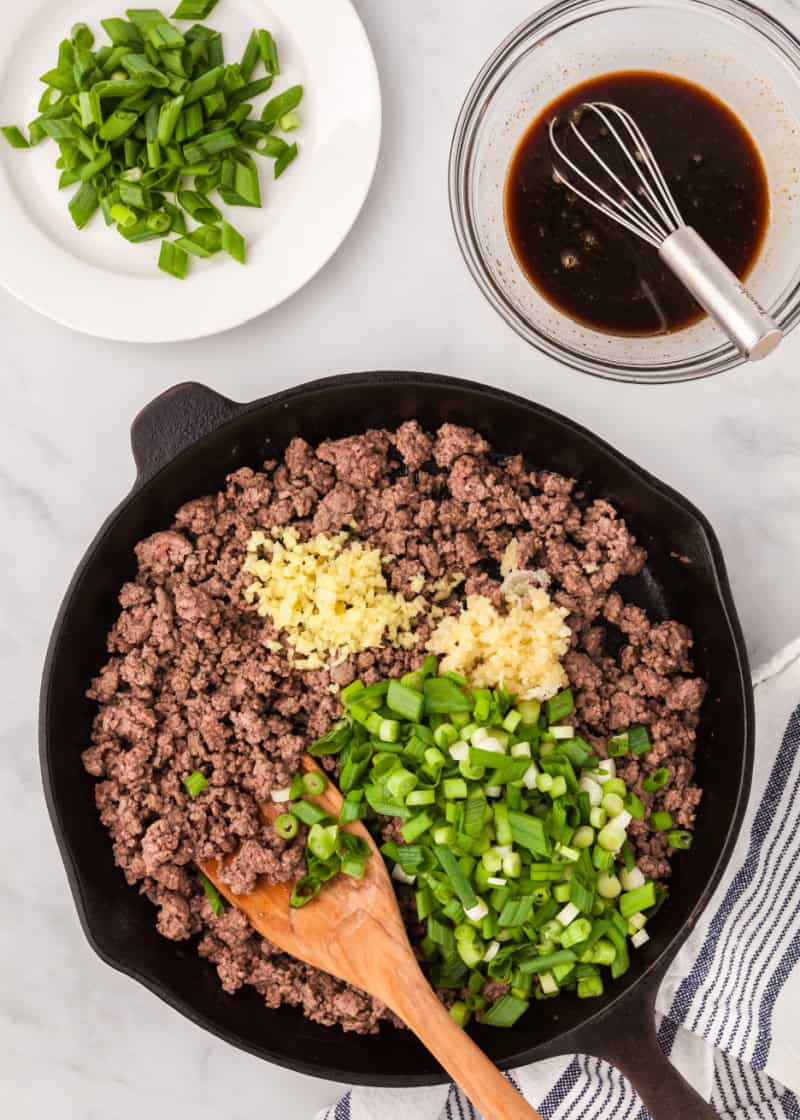
3. Add Aromatics
Once the ground beef is almost completely cooked drain any excess oil. Add the minced garlic and ginger, and cook for a couple of minutes. Add the bowl with approximately 1 cup of sliced green onions and cook for 2 more minutes.
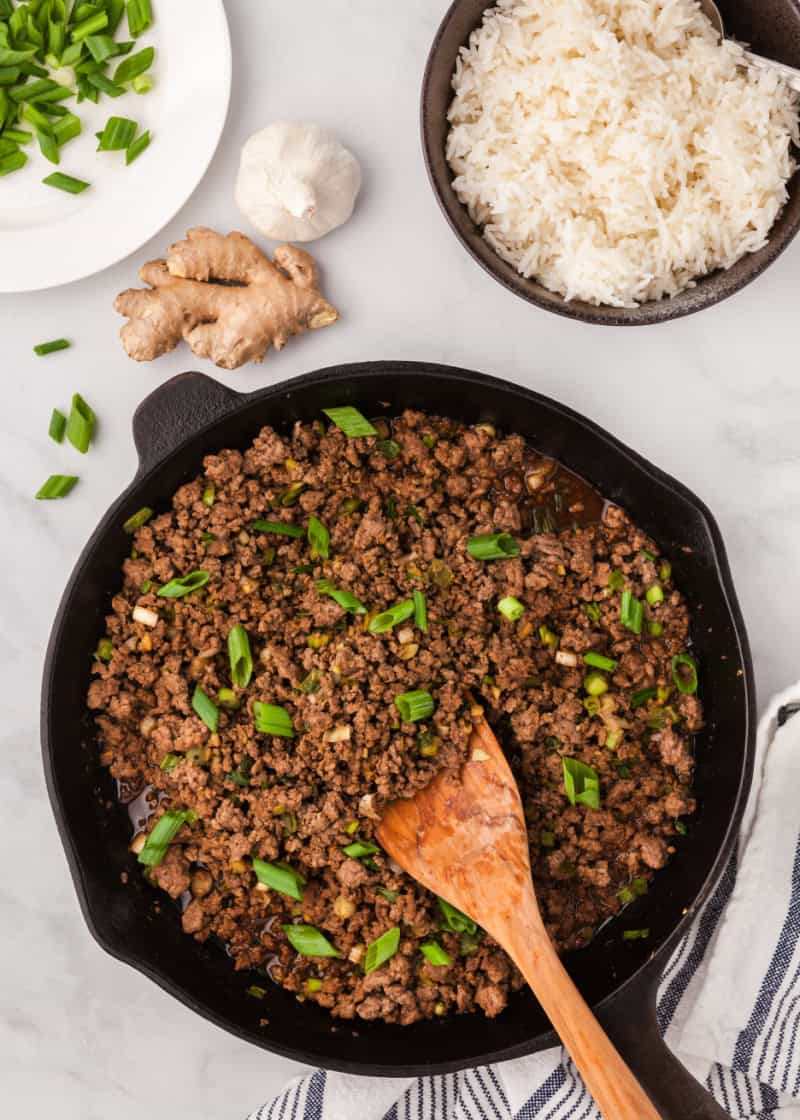
4. Add the Sauce
Add the prepared sauce and heat through for about 1 minute.

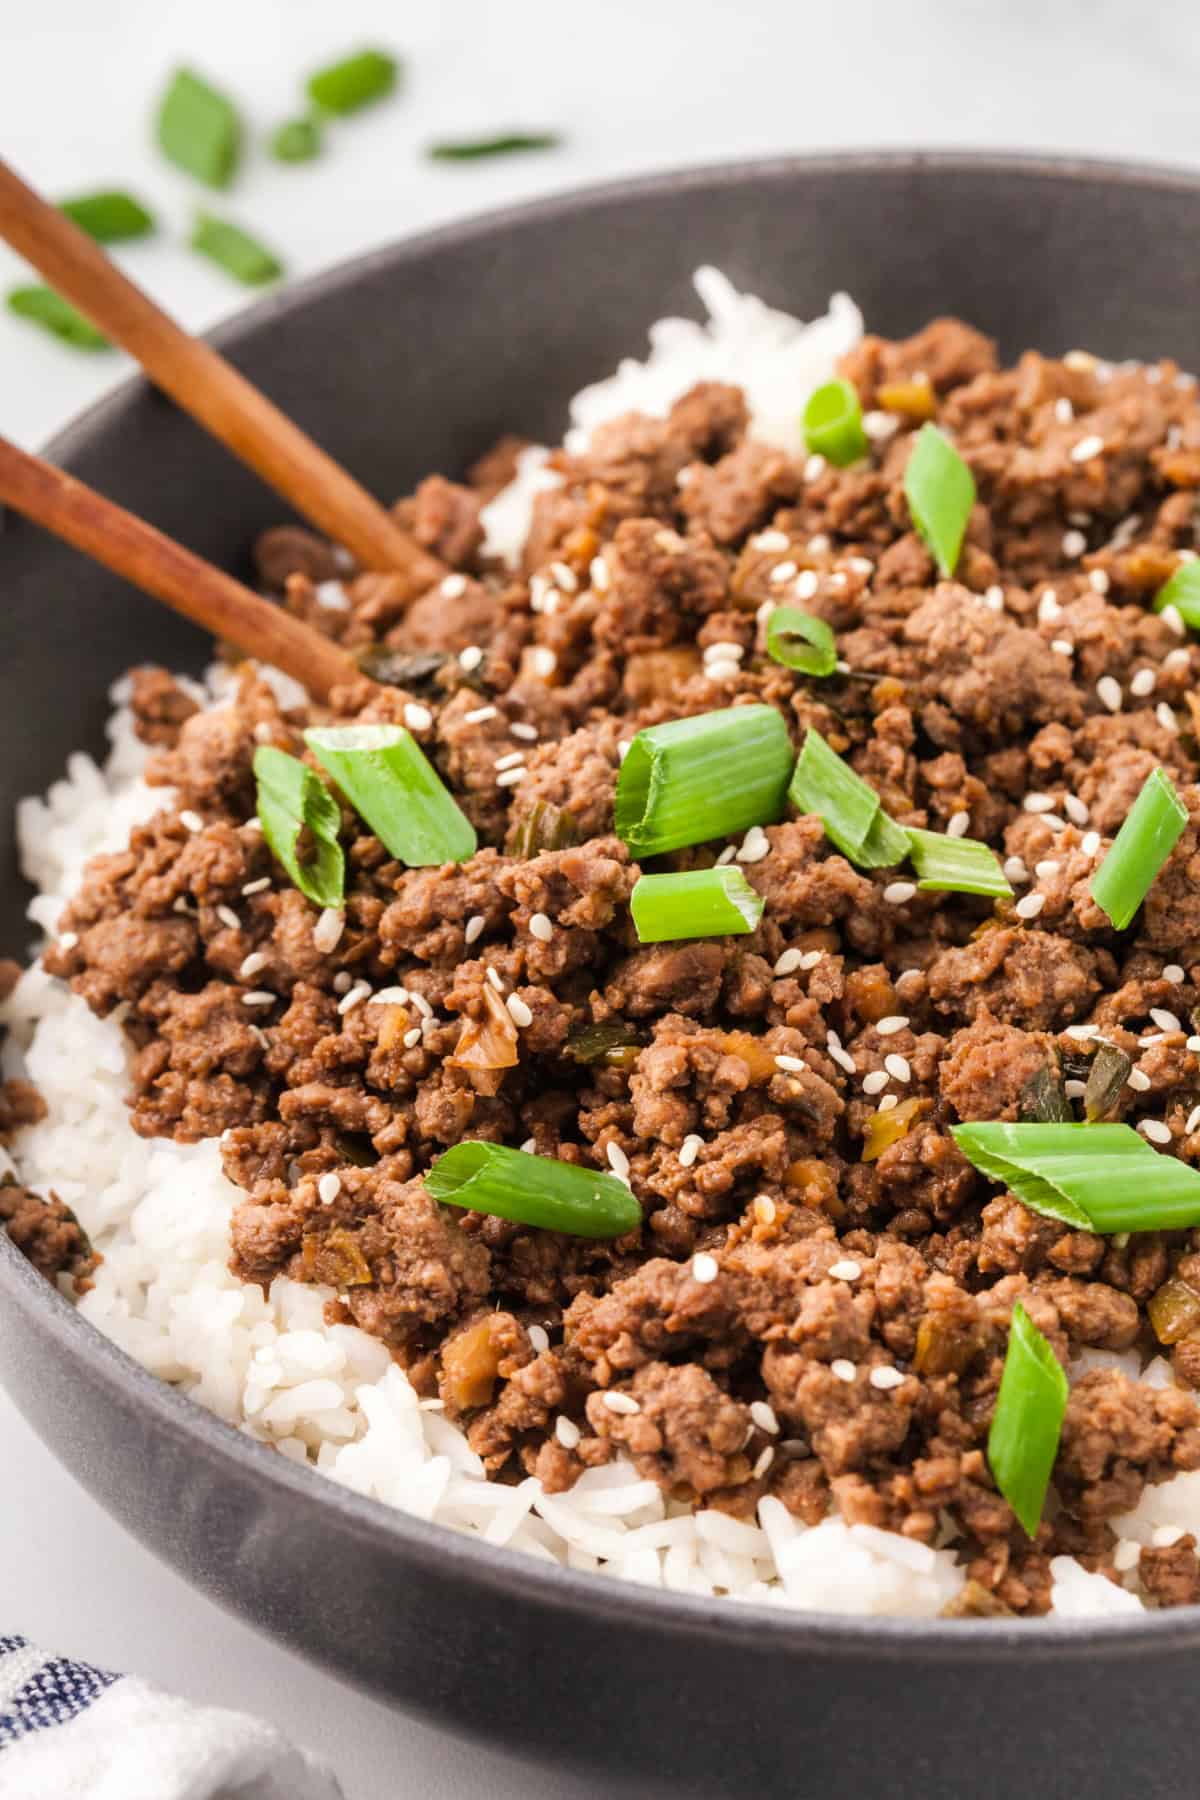
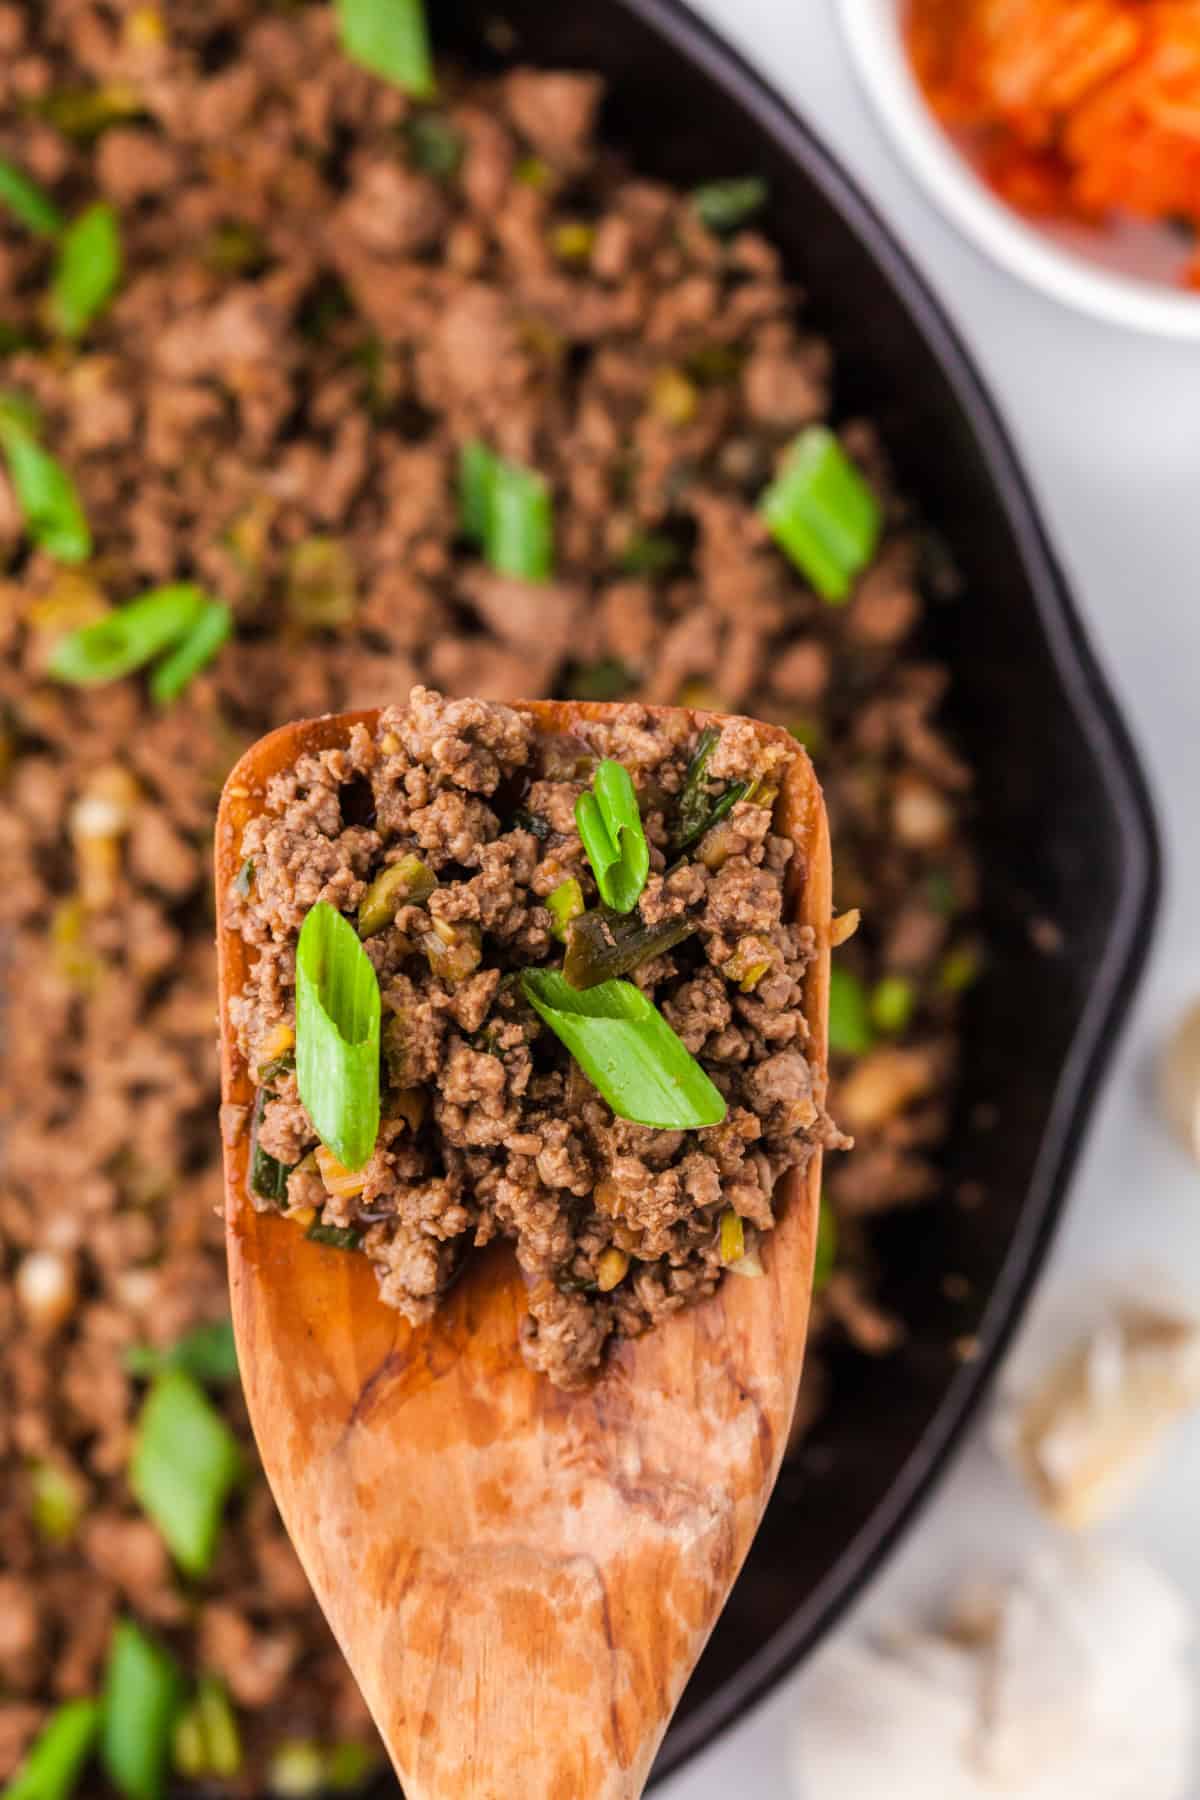
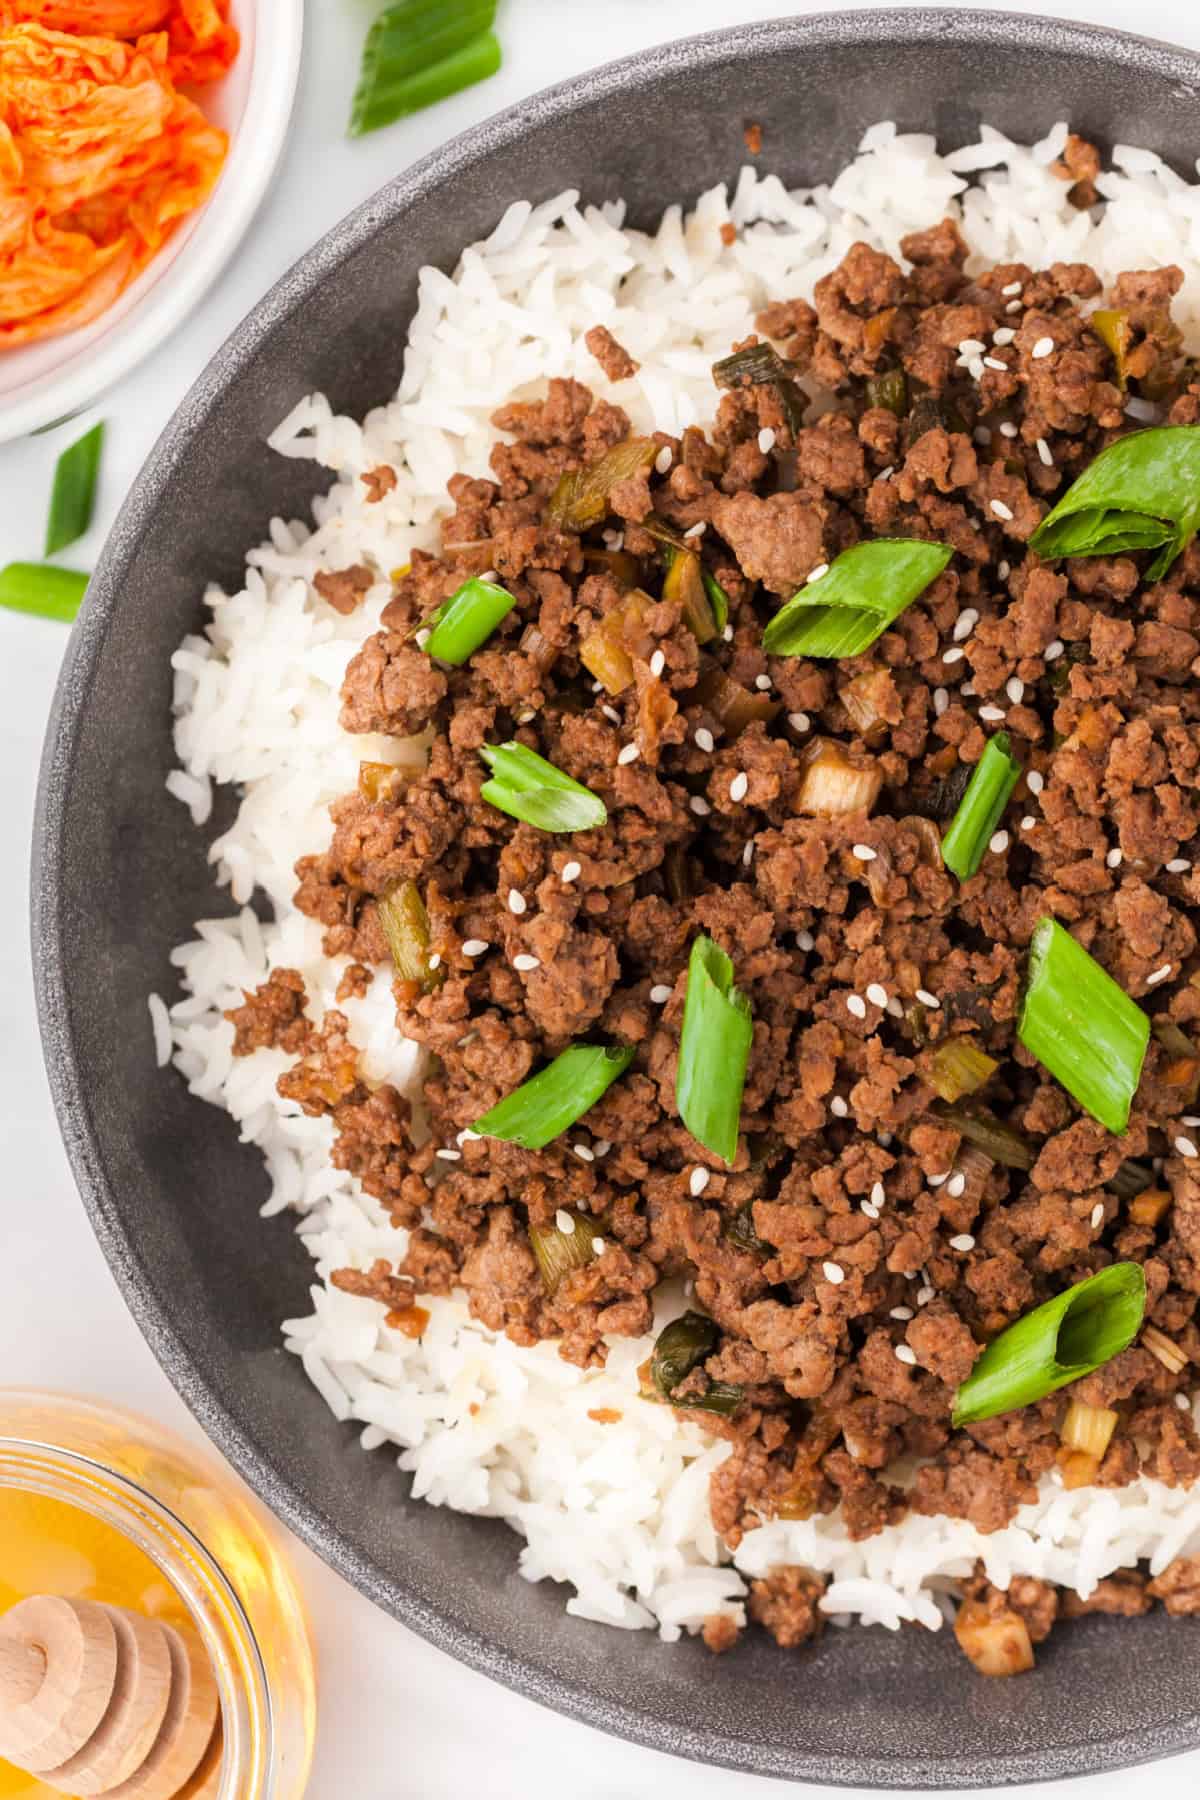
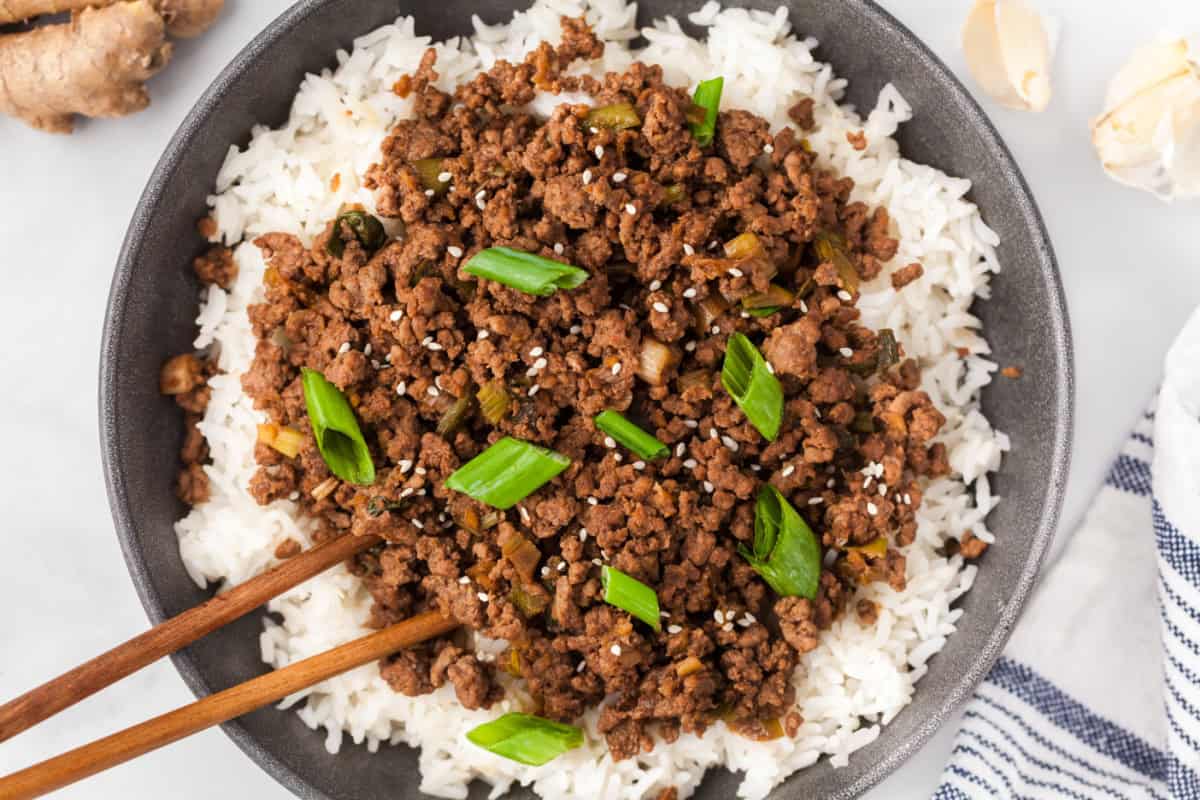
5. Plate and Serve
Serve hot over rice and garnish with the leftover green onions and sprinkle on sesame seeds if you like. We have more ideas for serving other than rice bowls, read about them below.
Recipe Variations
Protein Swaps
- Swap the ground beef for ground turkey, ground chicken, or ground pork.
- Crumbled tofu – For a vegetarian version, use extra-firm tofu and crumble it.
- Plant-based ground meat also works with this recipe.
Sweetener Options
- Brown sugar instead of honey for a deeper molasses flavor.
- Maple syrup for a different kind of sweetness.
- Coconut sugar for a lower glycemic option.
Heat Level Adjustments
- Use gochujang sauce instead of sriracha for more authentic Korean spice.
- Red pepper flakes for a different kind of heat.
- Omit spicy ingredients entirely for kid-friendly version.
- Double the sriracha if you love serious heat.
Flavor Additions
- Add a tablespoon of hoisin sauce for extra depth.
- Mix in shredded carrots while cooking for added vegetables.
- Add a splash of lime juice at the end for brightness.
- Top with kimchi for authentic Korean flavor.
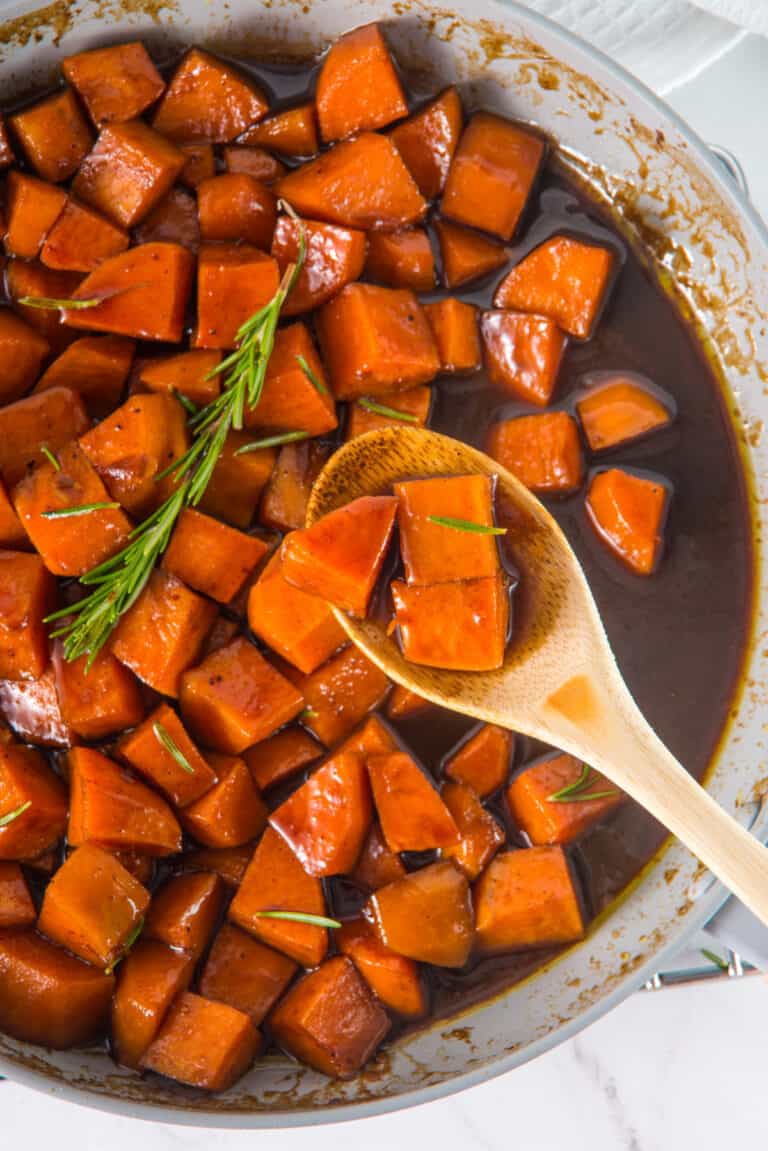
What to Serve with Korean Ground Beef
While this is a great ground beef and rice recipe, this Korean beef is both delicious and versatile. Here are my favorite ways to round out the meal:
How to Store and Reheat Korean Beef
Refrigerator Storage
Store the Korean ground beef in an airtight container in the refrigerator for up to 3-4 days. I like to keep it separate from the rice so the beef doesn’t dry out. The flavors actually get better after a day in the fridge as everything has time to meld together.
Freezer Storage
This recipe freezes beautifully for up to 3 months. Let the beef cool completely, then transfer to freezer-safe containers or bags. I portion it out into single servings so I can thaw just what I need. Label with the date so you know when you made it.
Reheating Instructions
From the refrigerator, reheat in a skillet over medium heat until warmed through, about 5 minutes. You can also microwave individual portions for 1-2 minutes, stirring halfway through.
From frozen, thaw overnight in the refrigerator first, then reheat using either method above. You can reheat from frozen in a pinch, but it takes longer and the texture isn’t quite as good.
Meal Prep Tips
This delicious korean beef recipe is perfect for meal prep. Double the batch on Sunday and pack it into containers with rice and vegetables for easy weekday lunches. The beef stays moist and flavorful all week long.
Recipe FAQ
It has a mild kick from the sriracha, but it’s not overwhelming. I’d rate it about a 3 out of 10 on the spice scale. You can easily adjust the heat level by adding more or less sriracha.
Yes! This recipe actually tastes better the next day after the flavors have had time to develop. Make it up to 2 days ahead and store it in the refrigerator. Reheat gently on the stovetop or in the microwave before serving.
More Asian Recipes
If you tried this Korean Beef let me know how it went in the comments below. Finally, consider leaving a 🌟 star rating. Thanks!
Korean Beef
Ingredients
- 4 cloves garlic (minced)
- 1 tbsp ginger (finely chopped)
- 3 tablespoons reduced sodium soy sauce
- 2 tablespoons honey
- 2 tablespoons rice vinegar
- ½ tsp sriracha (or other hot sauce)
- 1 tsp sesame oil
- 1½ cups green onions (sliced)
- 1 lb extra lean ground beef
Instructions
- Finely chop the garlic and ginger, place in a small bowl and set aside.
- Whisk together the soy sauce, honey, rice vinegar, hot sauce, and sesame oil in a bowl and set aside.
- Slice the green onions placing them into two bowls, one bowl containing approximately ½ cup of sliced green parts only, and the other bowl containing the rest of the sliced green onions.
- Heat the fry pan over medium high heat and add the lean ground beef. Stirring occasionally with a spatula about 4 minutes.
- Once the ground beef is almost completely cooked you can drain any excess oil released during the cooking. Add the minced garlic and ginger and cook for a couple of minutes.
- Add the bowl with approximately 1 cup of sliced green onions and cook for 2 more minutes. Add the sauce and heat through for about 1 minute.
- Serve over rice and garnish with the leftover green onions and sesame seeds if you like.


This easy Korean ground beef recipe is a great weeknight dinner. Hope you love it!